 Searching...
How to register one or more AirLink gateways?
If you are an AirLink gateway user, the first step to using the AirVantage service is to register your devices in the system.
Follow this tutorial to learn how to register one or more AirLink gateways.
To watch the video version, click on the screen above.
Or, if you prefer, follow the steps below at your own pace.


Step 1: Register Gateway
Before you can begin managing your AirLink gateways with AirVantage, you must first follow the device registration procedure.
- Registering a few devices can easily be done via the web interface.
- Alternatively, to register a large number of devices you can bulk import their details in a CSV file.
Display Device Catalog
Let’s go to the Register page. Click on the widget on the Start page, or the “Register” tab from the top menu bar.
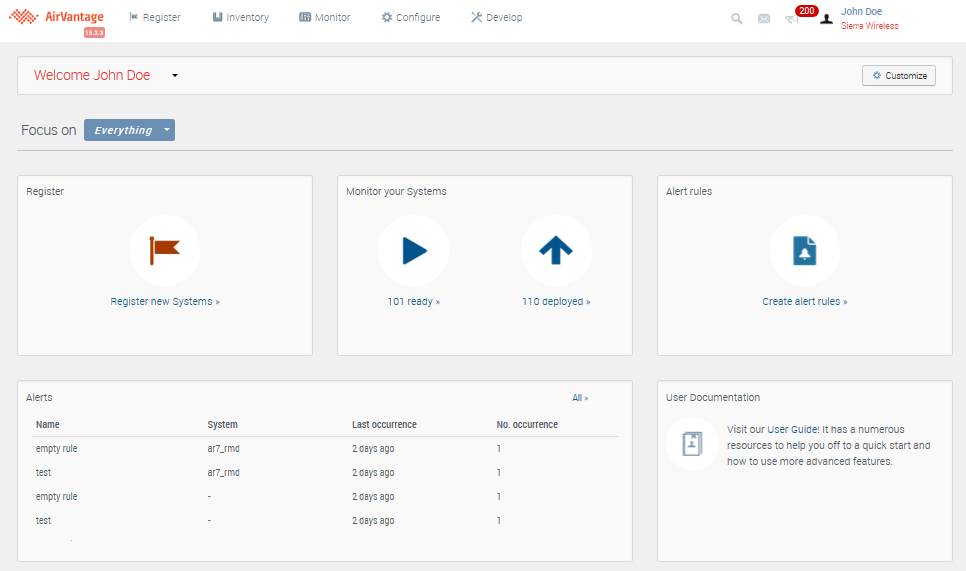
This displays the device catalog on the Register page, from where you can select your device type.
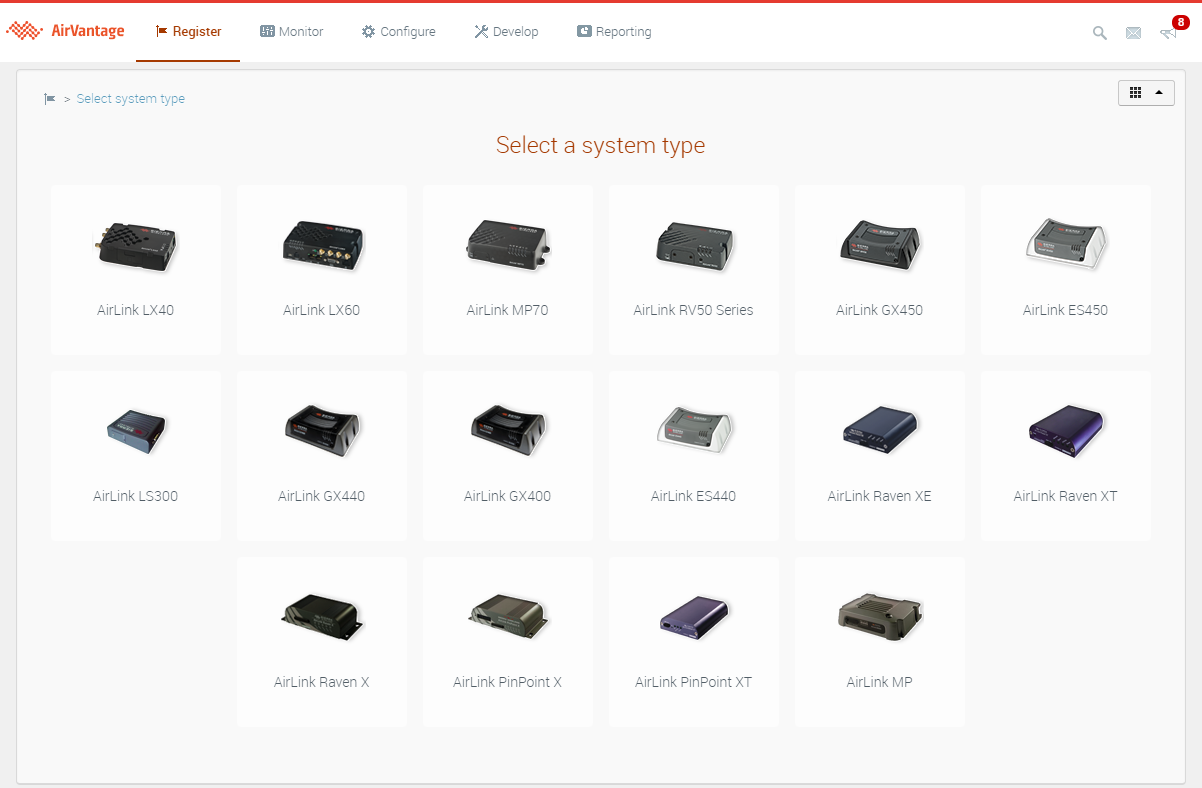
Enter gateway details
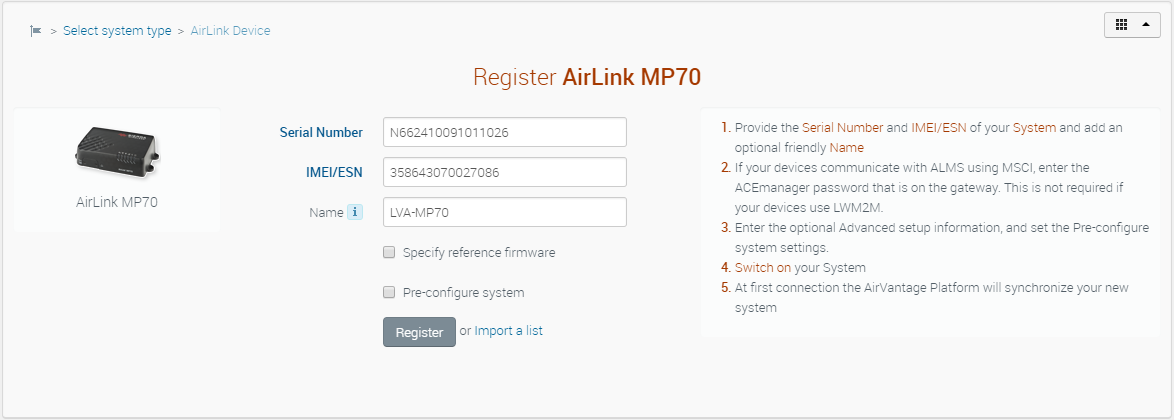
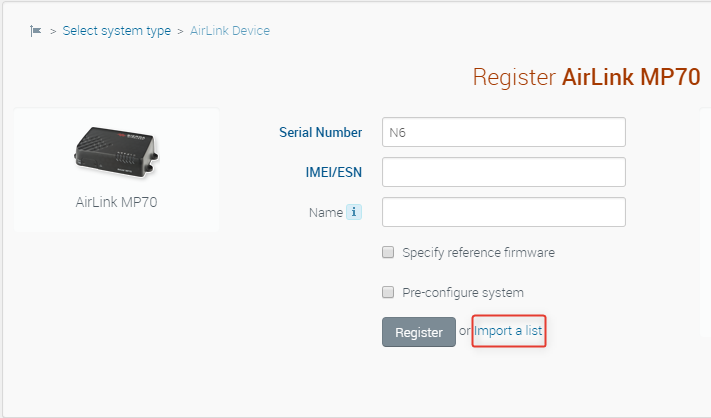
Suppose that we have an MP70 to register. Select that type on the Register page. The registration details page displays.
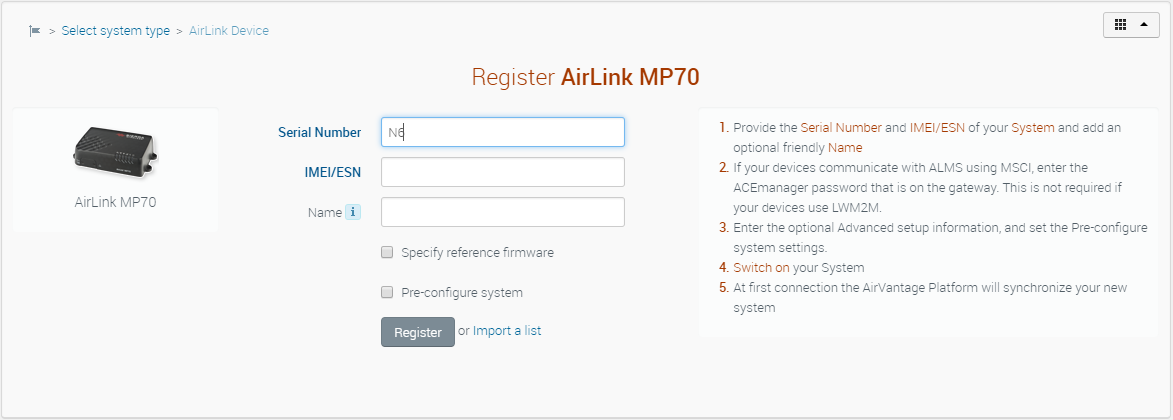
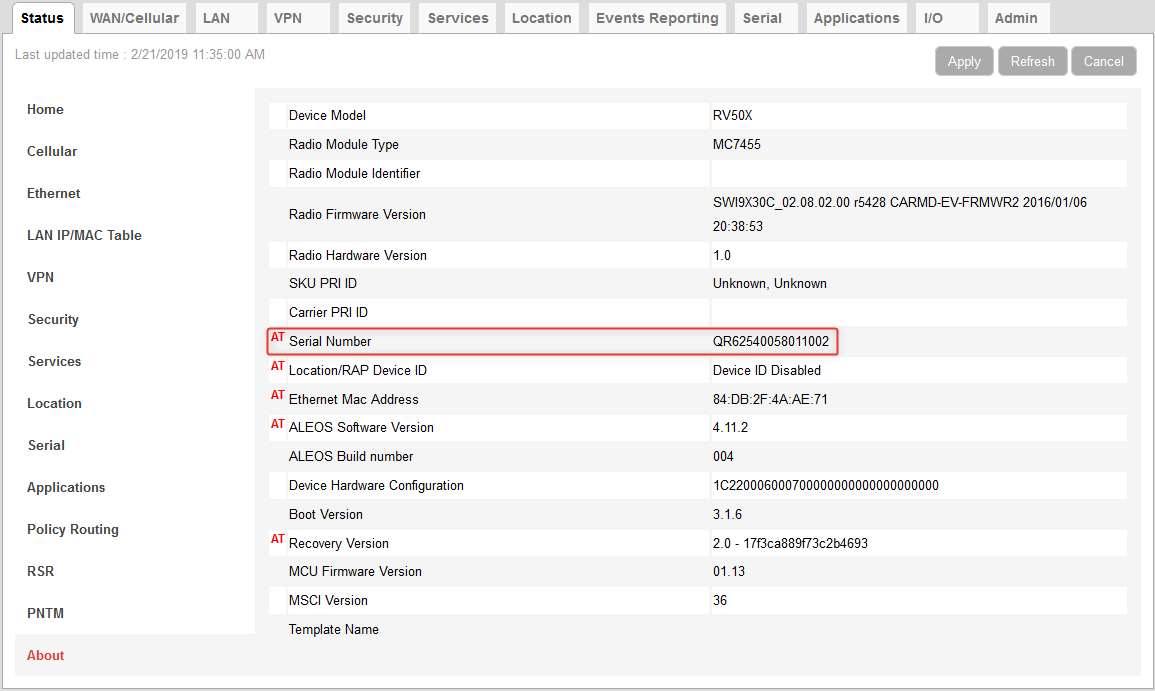
Your gateway’s serial number can be found in two different ways:
- It is printed on the gateway label. Note, you’ll need to remove the “dash” from the serial number.
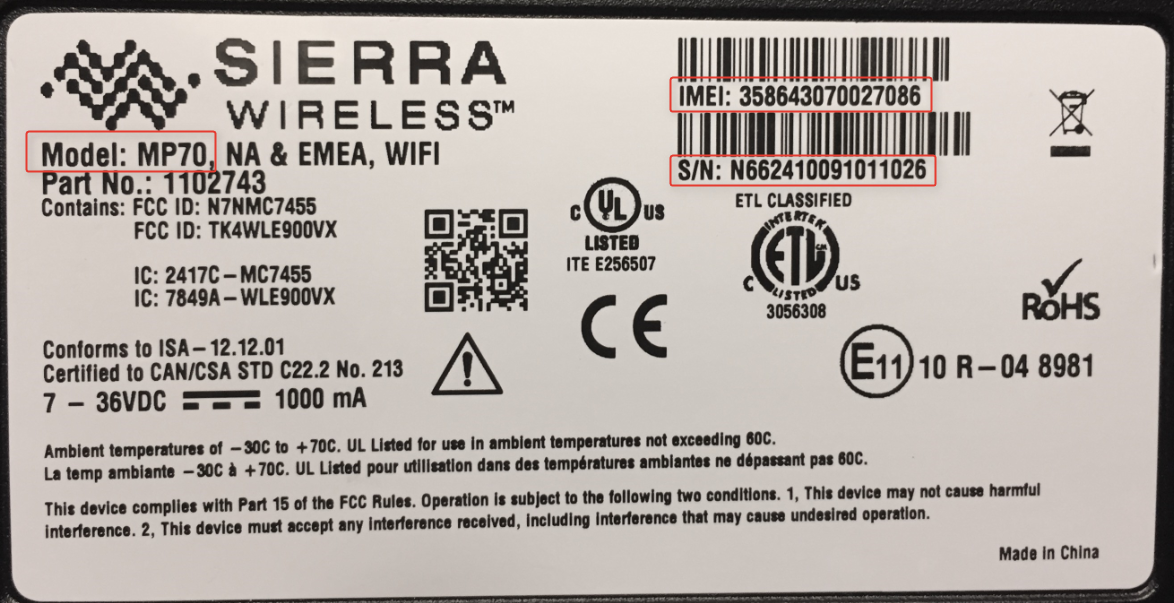
- Or you can find a device’s serial number in ACEmanager by selecting the device’s > Status > About page to view the Global ID field.
Once you have the serial number, enter it in the required field on the registration page. Letters in the serial number must be in UPPER CASE. Now give your device a name in the “Name” field.
AirLink gateways support the device-initiated communication model; this allows the management of the gateway, without assigning a public static IP address. This model increases communication security and is the recommended configuration AirLink devices.
Alternatively, if you prefer to initiate communications from the server at times other than the device-configured heartbeat, you can send send commands to a system.
Now, click the Register button to start the registration.
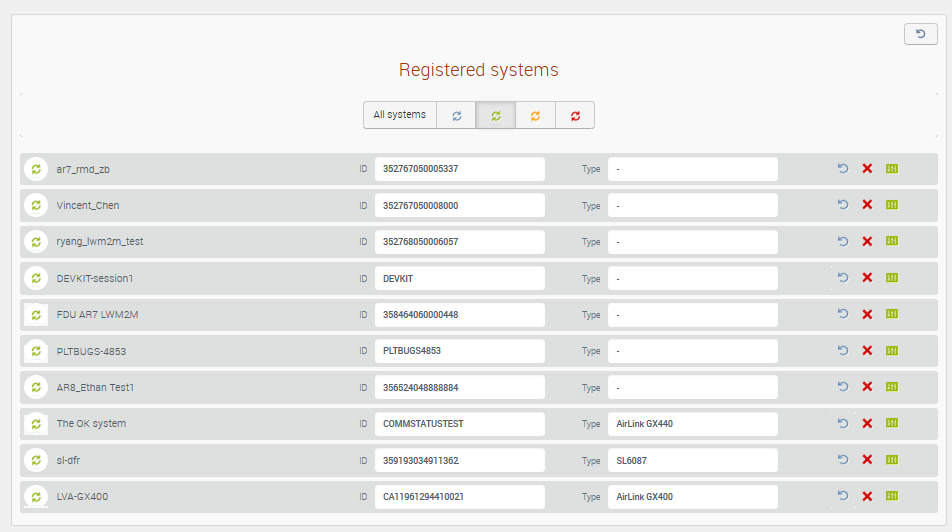
AirVantage will notify you once the operation has completed, and you will see your gateway at or near the top of the Device Catalog.
The list contains all the devices that have been registered with AirVantage. They can be sorted by their Synchronization status. For example, to show unsynchronized devices, click the blue icon:
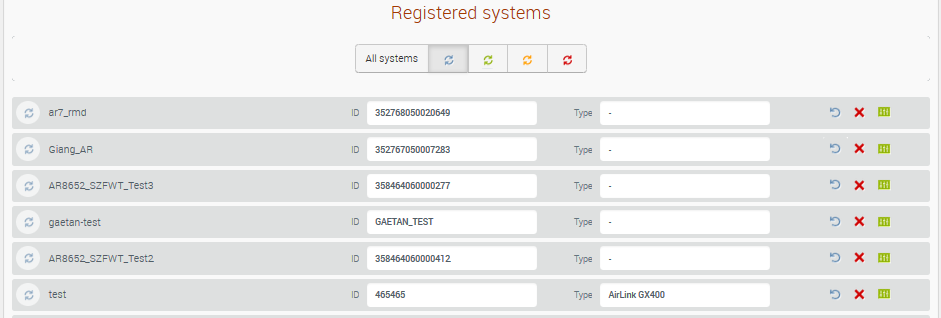
Your newly added gateway will be shown as unsynchronized.
Initiate communications
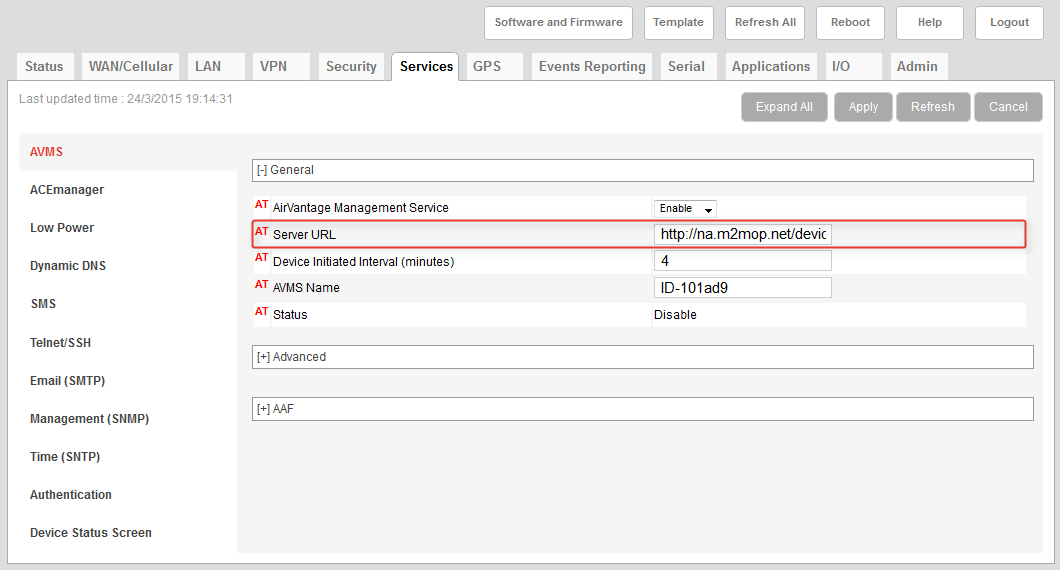
Now you need to connect your gateway. All new gateways are pre-configured to automatically connect to AirVantage. However, if your gateway runs the ALEOS firmware version 4.3.1 or earlier, you will need to change its settings in ACEmanager as shown below.
- First, check that the device is configured to communicate with the AirVantage Management Service.
- Next, verify if the server URL is correct (http://na.m2mop.net/device/msci/com).
After the device’s first communication, click on its Refresh button to verify the synchronization status. If the status icon becomes green, it means your system has been synchronized.
Your device can now be monitored and configured from AirVantage. Click on the “Monitor the system” icon to start.

Step 2: Import Systems
If you have a lot of devices to register, it will be simpler to perform a bulk registration.
Create CSV file
Click on the “Import a list” button on the registration details page.
An “Import Systems” dialog box opens.
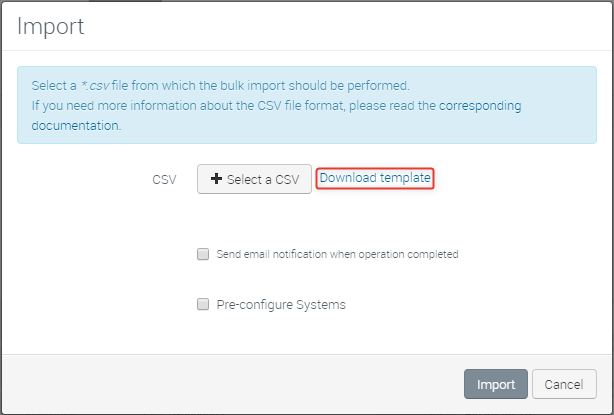
Download the CSV import file template by clicking on “download template”.
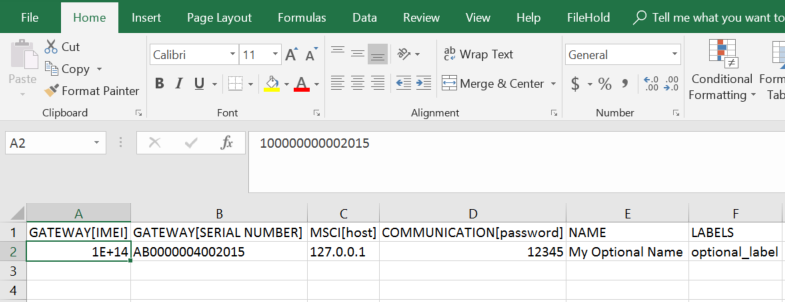
The Gateway (serial number) is the only field in the spreadsheet that must be filled in. Letters in the serial number must be in UPPER CASE. If you only have your IMEIs, contact your reseller or Sierra Wireless; they can get a serial number conversion for you.
If you use the AirLink Raven, PinPoint or MP gateways, you’ll be required to enter the IMEI or ESN value instead.
It is a best practice to give your device a Name. We recommend assigning a unique one to each device to simplify identification.
The MSCI (host) and Communication (password) fields are used only if you want to enable server-initiated communication. However, we do recommend device-initiated communication. If you want to use server-initiated communication, see the howto How to setup Server Initiated communications for AirLink Gateways? for more details.
Import CSV file
Once you’ve finished compiling the import file, go back to the “Import Systems” dialog box.
Browse and select the import file, then click on “Start”.
You will see your list of newly registered devices added to the Register page. They will normally synchronize with AirVantage after their first communication. If they don’t manage to synchronize, please verify the AirVantage settings in AceManager as explained above.
You can find more tutorials at our documentation center here
