 Searching...
Getting Started with AirVantage Platform
Easily send data to AirVantage
When developers start to develop a full IoT solution, the main issue they commonly face is how best to send data to AirVantage and then see data collected in the graphical interface or access them using the Web services (API).
So let’s start by explaining how you can quickly install a sample application on your smartphone or tablet (Android or Apple):
- to simulate any object
- to send data to AirVantage without the need for any other sensor, hardware, device, wireless module or embedded application.
Then we will give a first look at the API.
Step 1: Simulate a device
We have created a sample application to simulate any machine sending data to AirVantage; the name of this application is AV Phone. You can install the AV Phone application from your smartphone store (Google Play or Apple Store ). First check that you have a compatible device and version of the operating system.
Compatibles Devices:
- iPad2 (Cellular only)
- iPad Air / iPad Air 2
- iPhone 4S
- iPhone 5 / 5S
- iPhone 6 / 6+
- All Android devices
Compatible OS:
- iOS 8+
- Android > 5.1
Install
Get the AV Phone app on Google Play or the Apple Store
Enable Data connection either by activating WIFI or Mobile Data on your smartphone
With the Apple version, you need enable permission for your application to gather location or cellular data, and allow it to background refresh.
- Launch the application
The application does everything for you:
- Connects to AirVantage
- Synchronizes your system. The first time you run it on your phone, a new system is created in AirVantage. Next times, AV Phone checks the system is synchronized
- Simulates business data
- Gathers data about the device
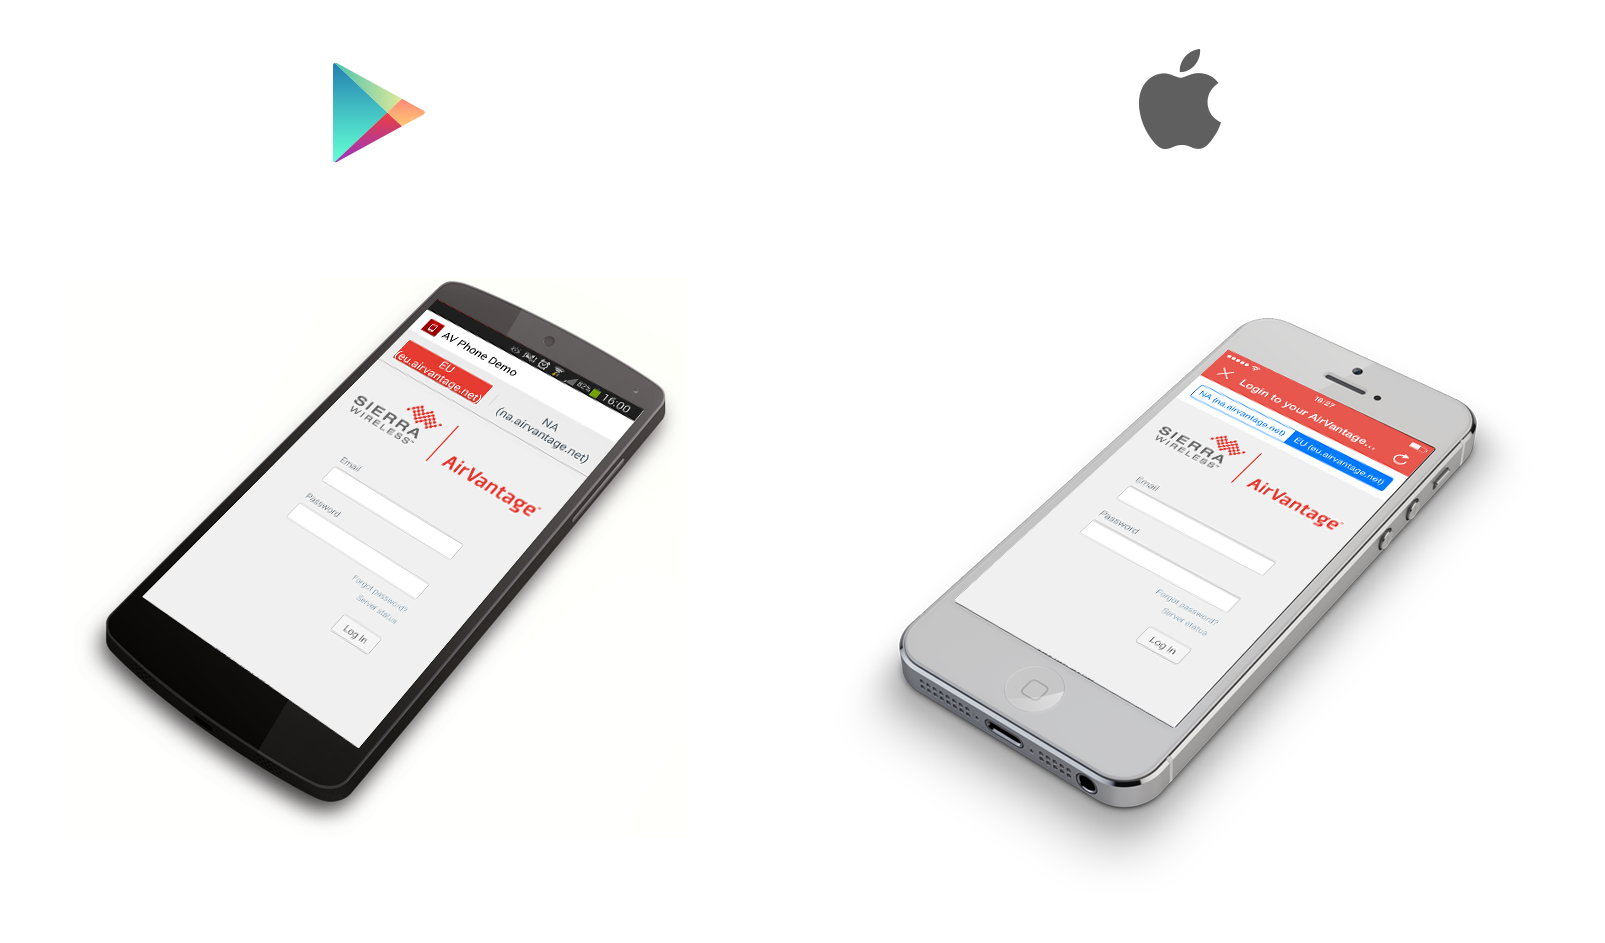
Login
- On the Welcome page, click on the Login button.
- Select the correct Datacenter to use (EU or NA). If you’ve subscribed to a free trial account, use the same datacenter.
- Login with your AirVantage credentials.
- The application creates a new system with your phone in AirVantage.
You may be asked to authorize the AV phone application to use your account when you first login. Click on
Authorize appto continue.
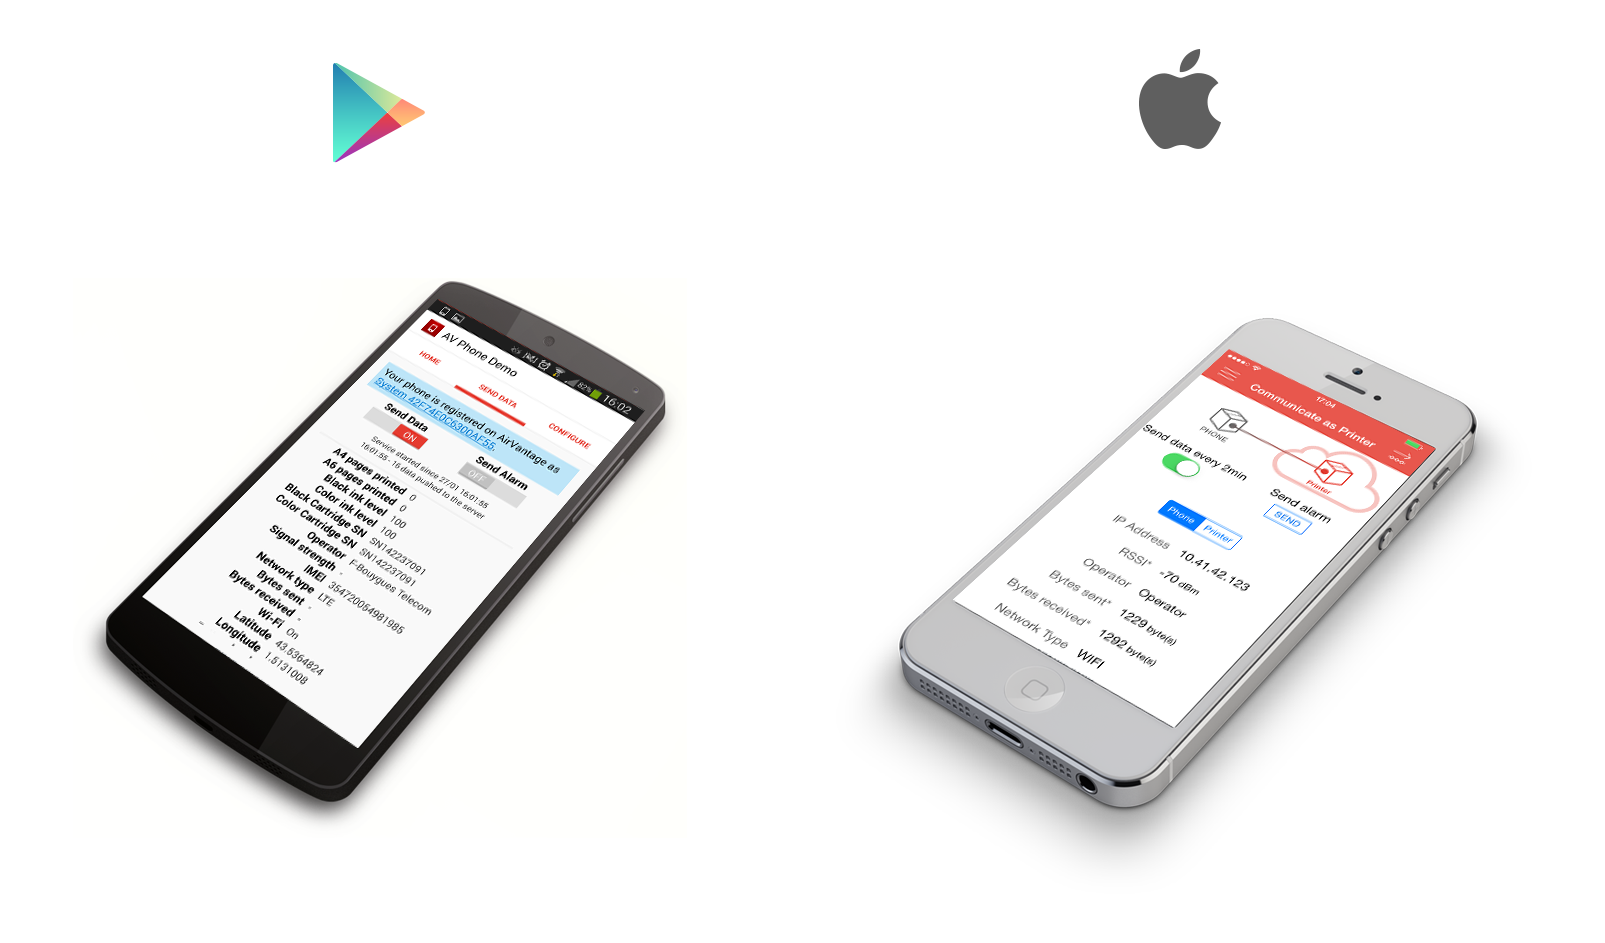
- The Send Data tab is displayed. Now you are ready to simulate a device!
Run
- To start data communications you have to toggle the Send Data switch to On
- The start time and the last communication datetime are displayed just below, followed by details of the data
- You can send an alarm by using the Send Alarm button (a boolean value called Active alarm)
- On AirVantage, an alert rule has been created and an alert will be triggered each time the alarm event is sent from the phone.
Any Trouble? Have a look to the AV Phone FAQ
Any Trouble? Have a look to the AV Phone FAQ
Step 2: Manipulate your data
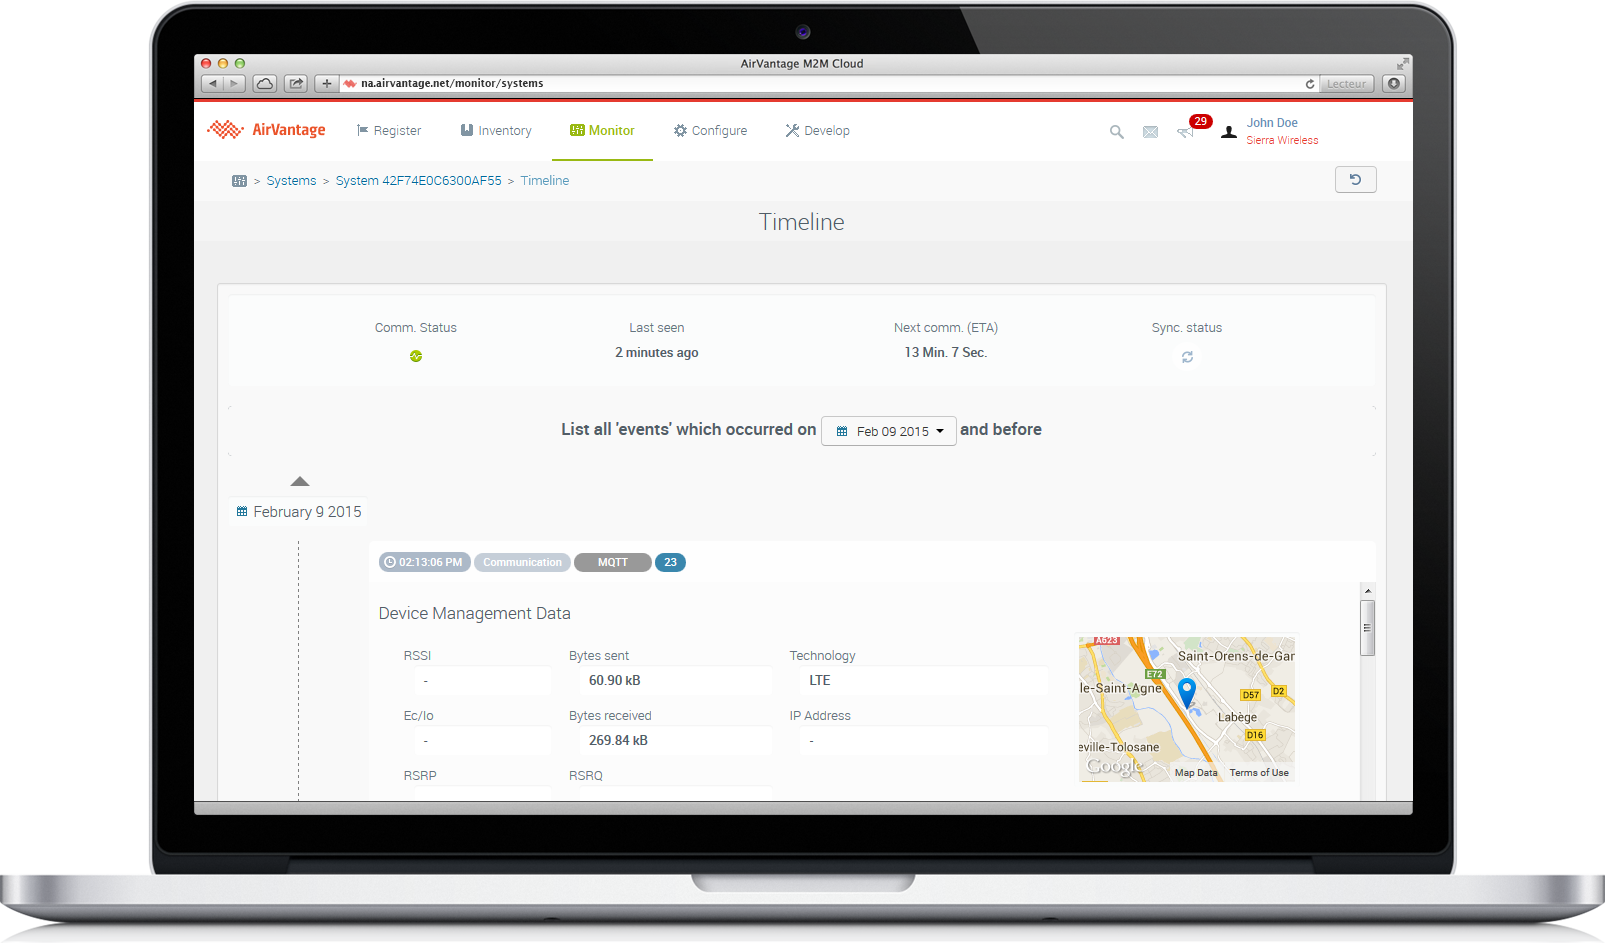
Check communication
To be sure your system is communicating correctly, AirVantage provides a screen to see all messages received from a given system.
Check your communication by reading this short “howto”.
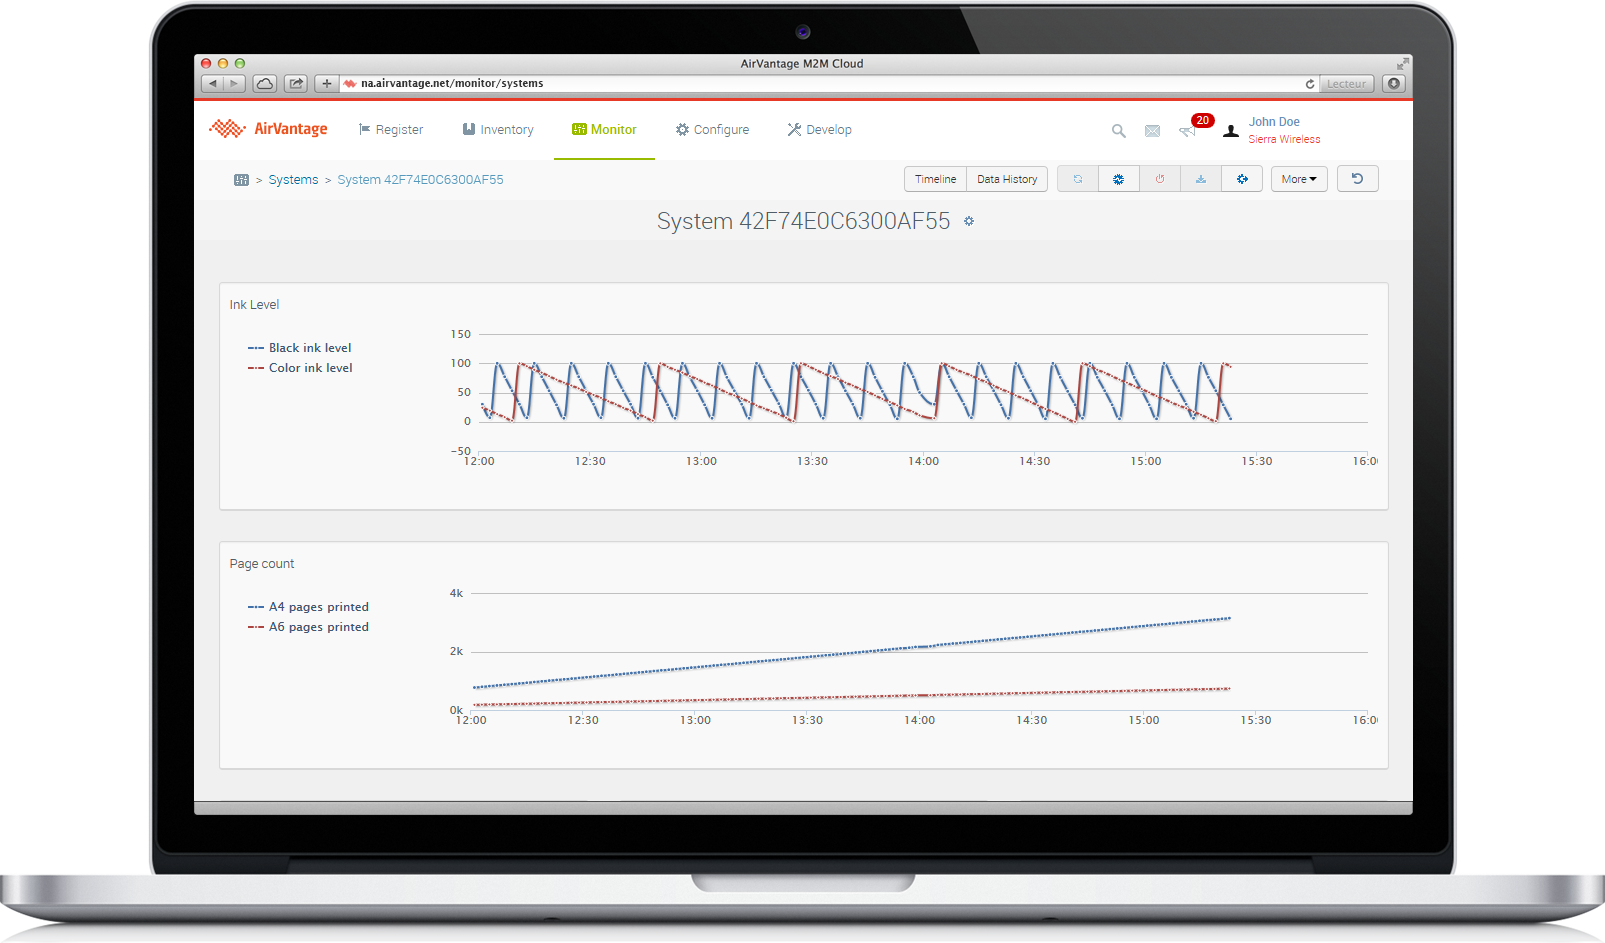
View data sent
You can display recent data using a chart. Use this howto to add a new chart widget to your dashboard.
Step 3: Use the API with authentication
This step explains the basic elements of the AirVantage Web Services API (HTTPS REST), and shows you how to easily test them.
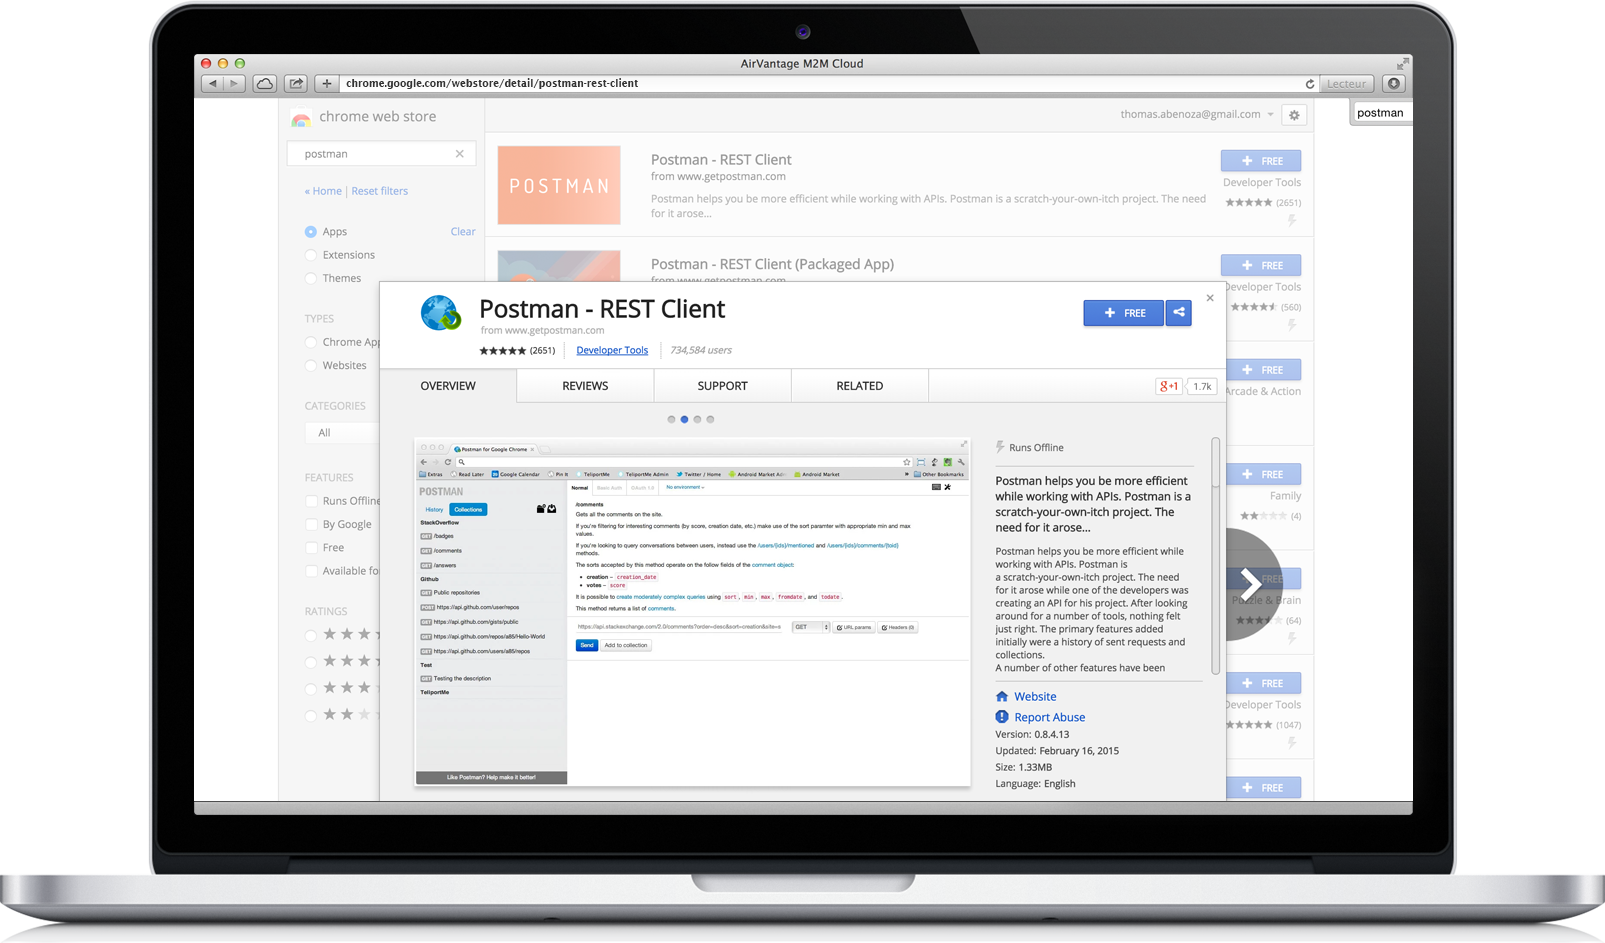
Which tool can you use?
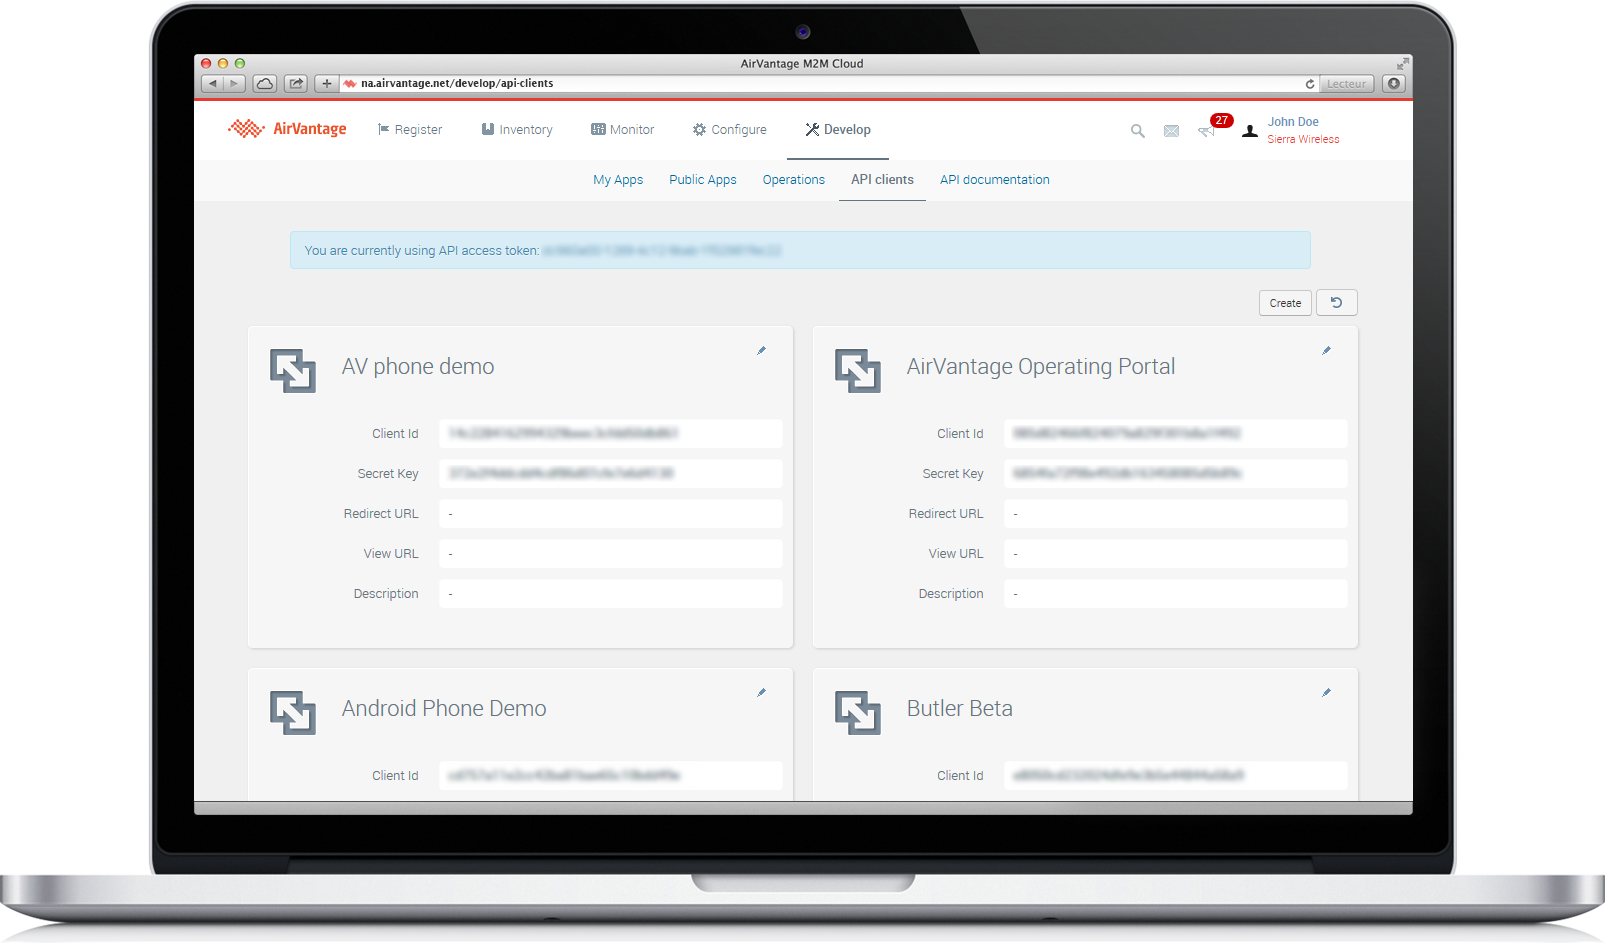
How can I get a token?
You can get a token for use by the UI:
API Basics
REST (REpresentational State Transfer)
Request:
| HTTP verb | Base URI | Resource Path | Parameters |
|---|---|---|---|
| GET | https://{server}/api/v1 | /users/current | ?access_token={token} |
HTTP-based RESTful API calls are defined with the following syntax:
- Base URI, such as http://example.com/resources/
- An Internet media type (JSON, XML, RSS, CSV …)
- Standard HTTP verbs:
- GET - Used for retrieving resources,
- POST - Used for creating resources, performing custom actions,
- PUT - Used for updating resources or collections.
- DELETE - Used for deleting resources
- Hypertext links
(src: Wikipedia )
Response:
{
  uid: "81210eca05484d34a29bc6c34dc31bf7",
  email: "jdoe@mycompany.com",
  name: "John Doe",
  company: {
    uid: "97ba9e22078548a2847912a87152e3f4",
    name: "My Company"
  },
  profile: {
    uid: "df1c0f7d5f8c4db2b45978f98e1093ad",
    name: "Manager"
  }
}
JSON (JavaScript Object Notation)
JSON stands for JavaScript Object Notation. It is an open standard format that uses human-readable text to transmit data objects consisting of attribute-value pairs. It is used primarily to transmit data between servers and web applications, as an alternative to XML. (src: Wikipedia )
- Widely adopted
- Language-independent
- Simple (set of attribute-value pairs)
- Types
- Number, String, Boolean, Array, Object, null
GETting your system
I want to GET my first device created in AirVantage. You will need to use the API System. The core object of AirVantage is the System: it represents the real world object or machine you want to manage. You can start to play with the API of this entity to understand how the API works.
- Get information about my system using the name:
> GET https://{server}/api/v1/systems?name=MySystem&access_token={token}
- Copy the uid field from the response
{
   "items":    [
            {
         "uid": "3ed6cd7426604ee0bca9fe01f2521230",
         "name": "MySystem",
         "gateway":          {
            "uid": "12e4b922b0034b26a92e7f9934da13ae",
            "imei": null,
            "macAddress": null,
            "serialNumber": "458555527",
            "type": null,
            "creationDate": "1337948436603"
         },
         "subscriptions" : [{
            "uid": "bafd571985d641d7b159dc7ef3214f5d",
            "identifier" : "4569874563254156984",
            "mobileNumber": null,
            "networkIdentifier": null,
            "operator": "UNKNOWN",
            "state" : "INVENTORY"
         }]
      }
GETting raw Data
I want to see the stream of values sent from my device.
List historical values for a given data id and system:
> GET https://{server}/api/v1/systems/data/raw?
      targetIds={system_uid}&dataIds={data_id}&access_token={token}
For example: data_id can be phone.custom1
All set!
Now you know how to GET data from AirVantage, you are ready to start creating charts and tables, or to generate alerts from custom applications, and explore the AirVantage API.
Learn how, and discover what else you can do with the API, by taking a look at the AirVantage API Reference