Using MQTT on an OpenAT device
 Searching...
This article is about using AirVantage API for devices. It will focus on OpenAT device like the SL808xT.


- Your device has been registered in AirVantage and a first communication has been done. Follow this tutorial.

- The Developer Studio for OpenAT must be installed and configured. See this tutorial

Step 1: Setup Hardware
Create your Open AT Application
- Go back to the Application perspective
- Select File > New > Open AT project
- Enter the name of the project in the
Project Namefield. For example: DevProgram1
Select the hardware
- Click on
Next. The Hardware Configuration step appears - Select the module you are using (you can click on Auto Selection and select the port where you module is connected) and click on
Next

Define the Open AT Framework
- In the Target Platform Configuration step, select the Open AT Framework you are using:
- Framework Profile:
- the latest version of Open AT Embedded Software Suite package is checked by default, check the OpenAT Framework package accoprding to the FW you have on your module,
- OS - the Open AT OS Package is checked, leave checked as is,
- Firmware - the 7.47 Firmware package is selected, leave checked as is (according to the framework profile you checked, the correct firmware must be already selected)
- Libraries:
- Check the AirVantage MQTT Connector Library Package
- Check the Internet Library Package
- Framework Profile:
A warning may appear at each step, indicating that there is no common SDK Profile between this package and some plugins. If so, ignore it.
- Check
New Target Platform - Click on
Next. The Sample Selection step appears.

Define the sample to use
- Select the Greenhouse sample from the AirVantage MQTT Connector Package to create your application
- Click on
Finish

Step 2: Design your application
An application model aims to explain to AirVantage how to deal with the device about communication and authentication and managing the data: variable, settings or commands. If you don’t supply such information, the server will ignore all the communication from your device. In this step, we are going to see how to create this application and release it on AirVantage and associate it to your system.
Define your data
- First of all, to be able to send and receive data, you have to describe your data to AirVantage. Here is the description, you just need to change the type value with a unique identifier for your application and the name and revision with the appropriate values for your use case.
- You can modify the
<data>area. Once it matches your needs, save everything as model.app. - Open the file in the Model directory in your Open AT application.
Don’t modify the asset id as it is used in the code source application or modify it accordingly
<?xml version="1.0" encoding="ISO-8859-1"?>
<app:application
        xmlns:app="http://www.sierrawireless.com/airvantage/application/1.0"
        type="com.test.airvantage.sl.app"
        name="AirVantage Greenhouse"
        revision="0.0.1">
  <capabilities>
    <communication>
      <protocol comm-id="IMEI" type="MQTT" />
    </communication>

    <data>
      <encoding type="MQTT">
        <asset default-label="Greenhouse" id="machine">
          <variable default-label="Temperature" path="temperature"
                                               type="double"/>
          <variable default-label="Luminosity" path="luminosity"
                                               type="double"/>
          <setting default-label="Threshold" path="threshold"
                                             type="int"/>
        </asset>
      </encoding>
    </data>
  </capabilities>
  <application-manager use="SOFT_IDS" />
</app:application>
Create your application package
- Zip this file, mine is named model.app.zip
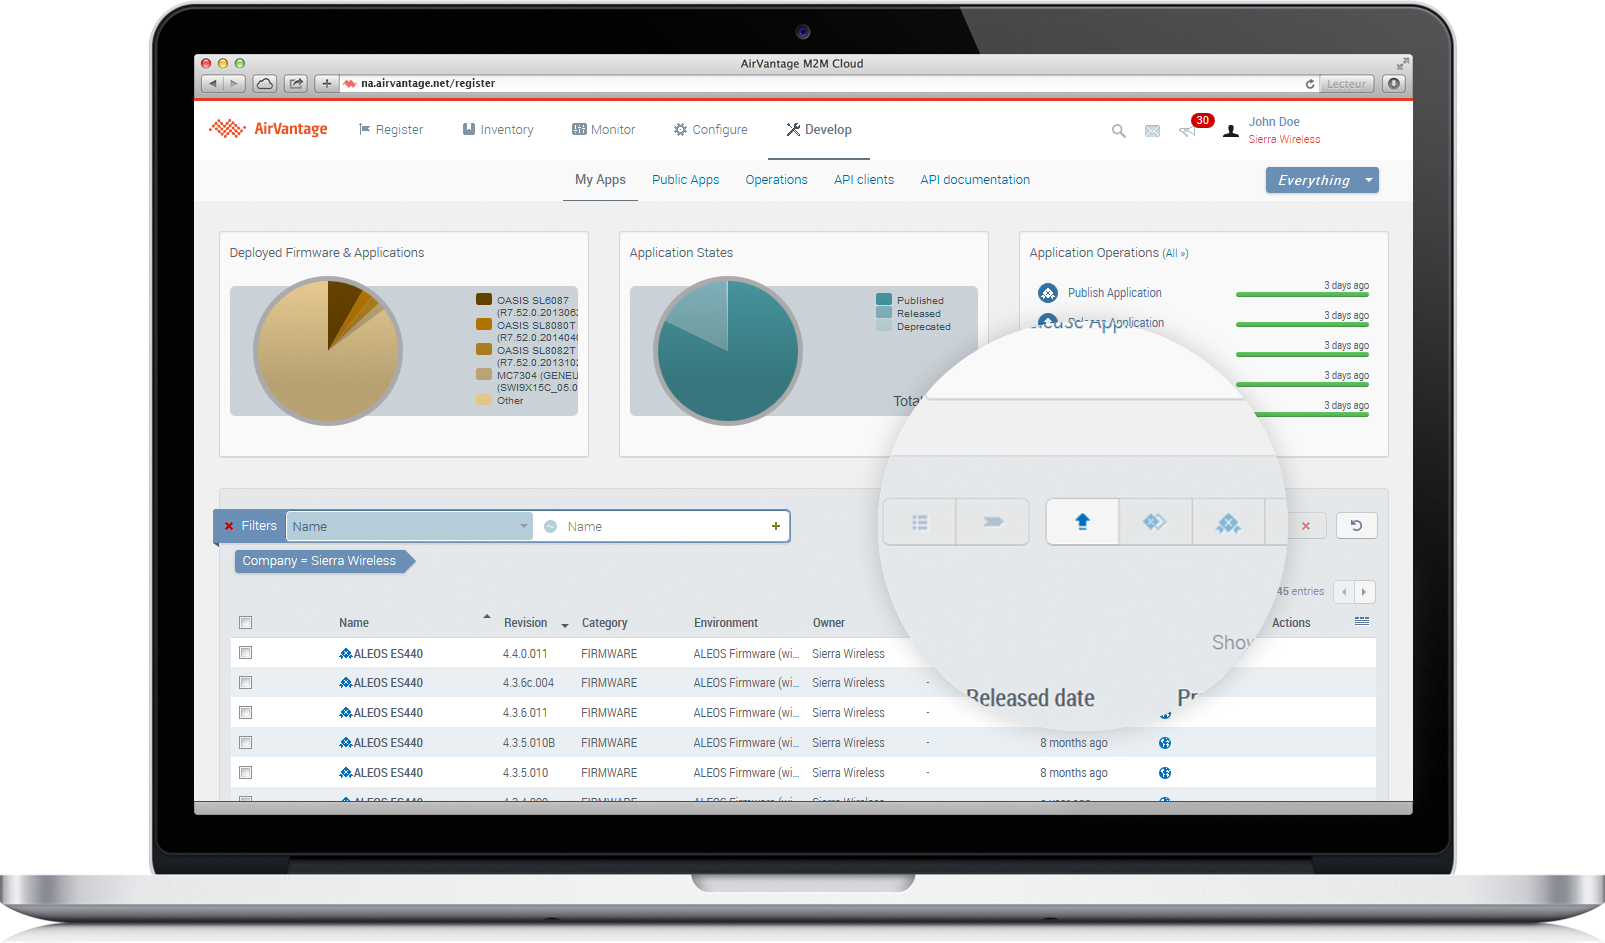
- Go on Develop Activity > My Apps
- Click on the Release button
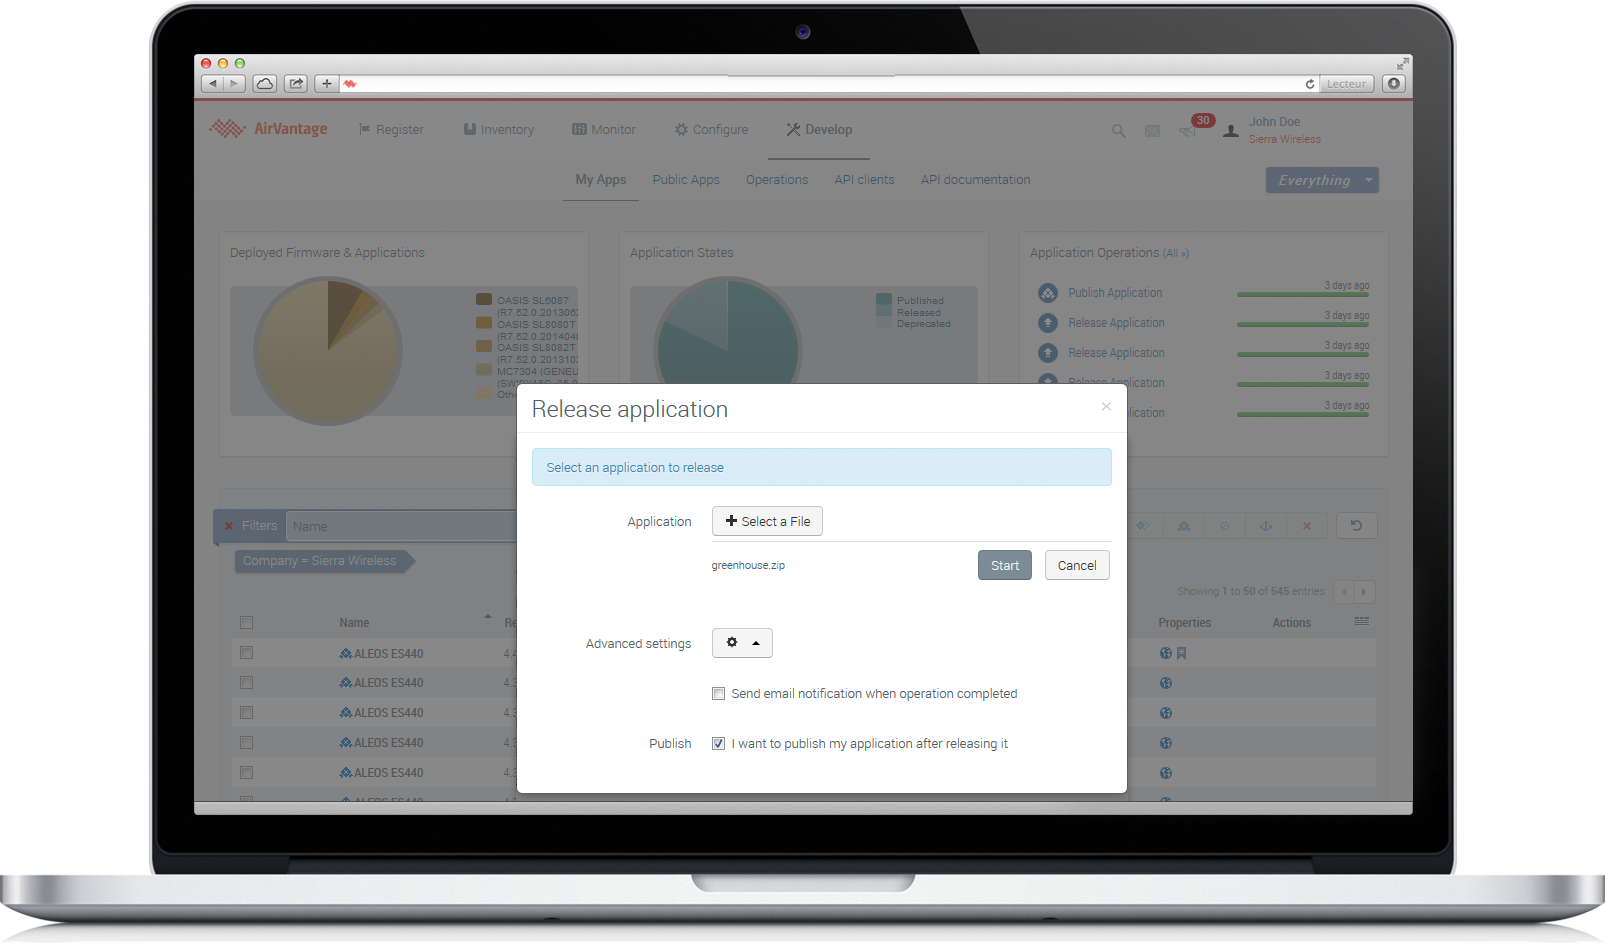
Release your application
- Select your file model.app.zip
- Open Advanced settings and select I want to publish my application after releasing it
- Finally, click on Start
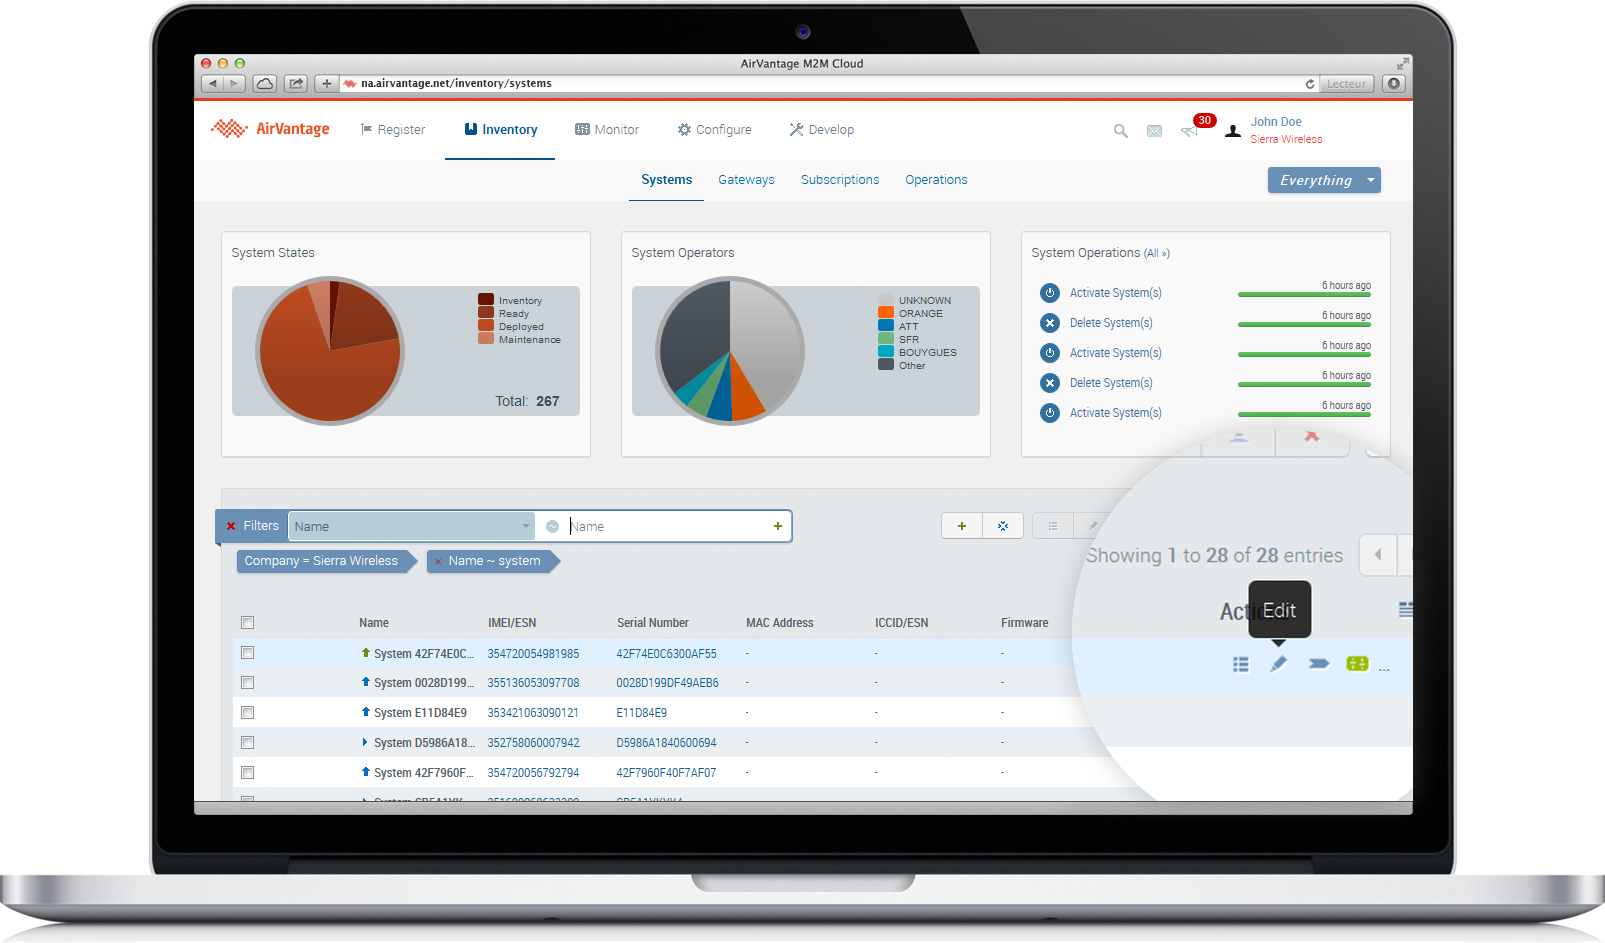
Edit your system
- Go on Inventory > Systems
- Select your system and click on the Edit icon
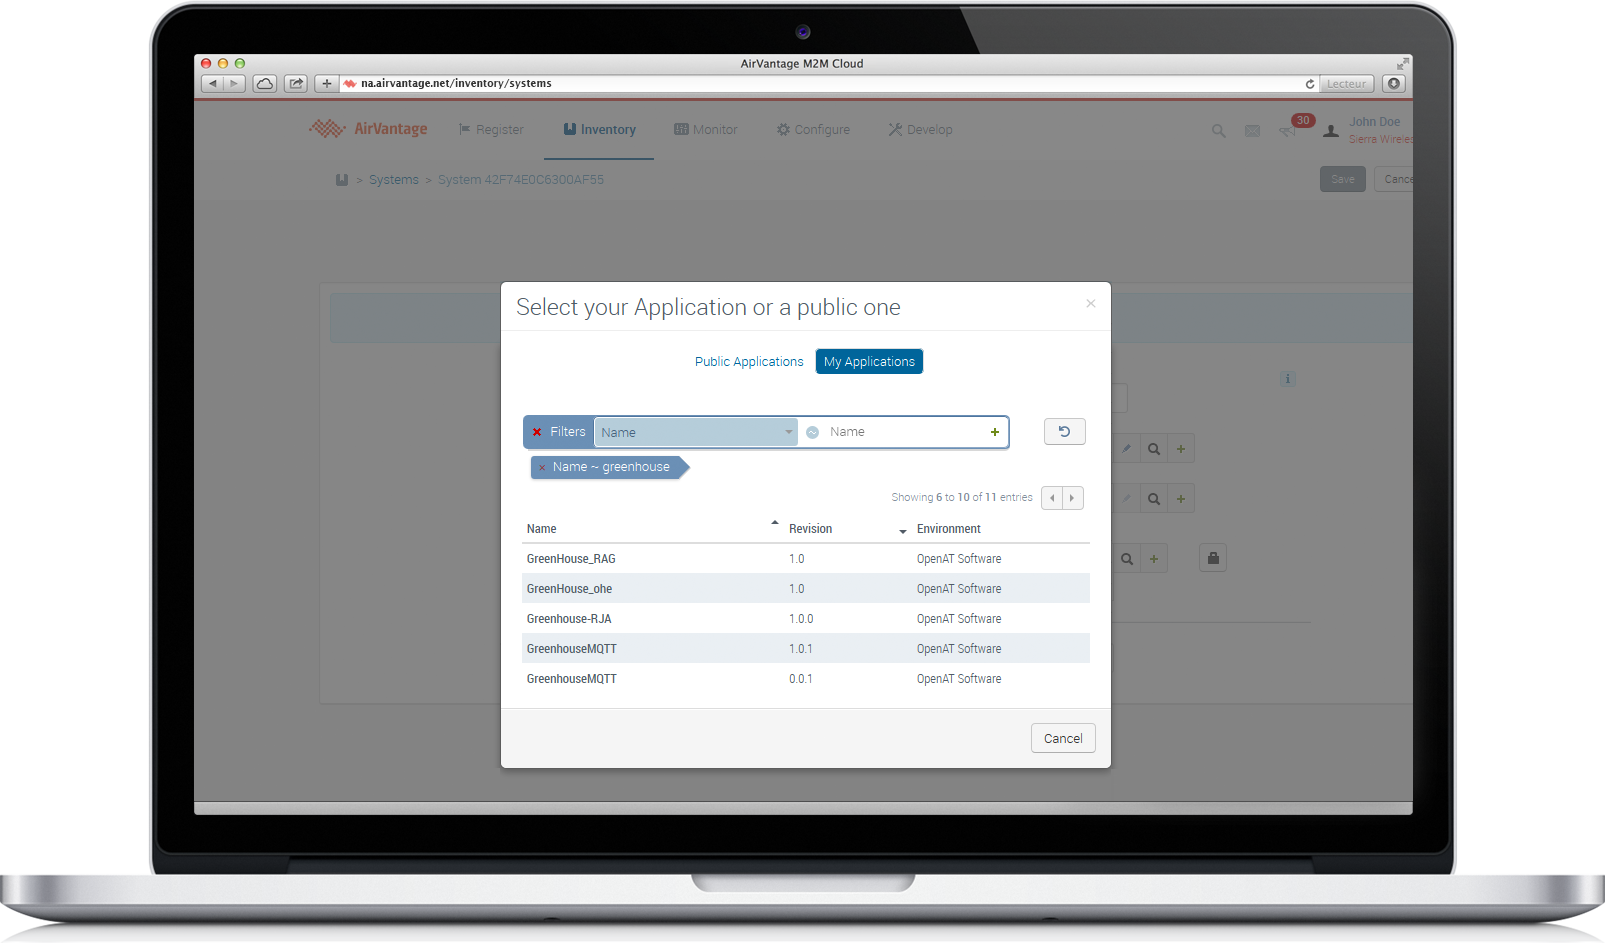
Search your application
- Click on Search application
- In the new dialog box, select the My Application tab
- Search your application using its name (AirVantage Greenhouse)
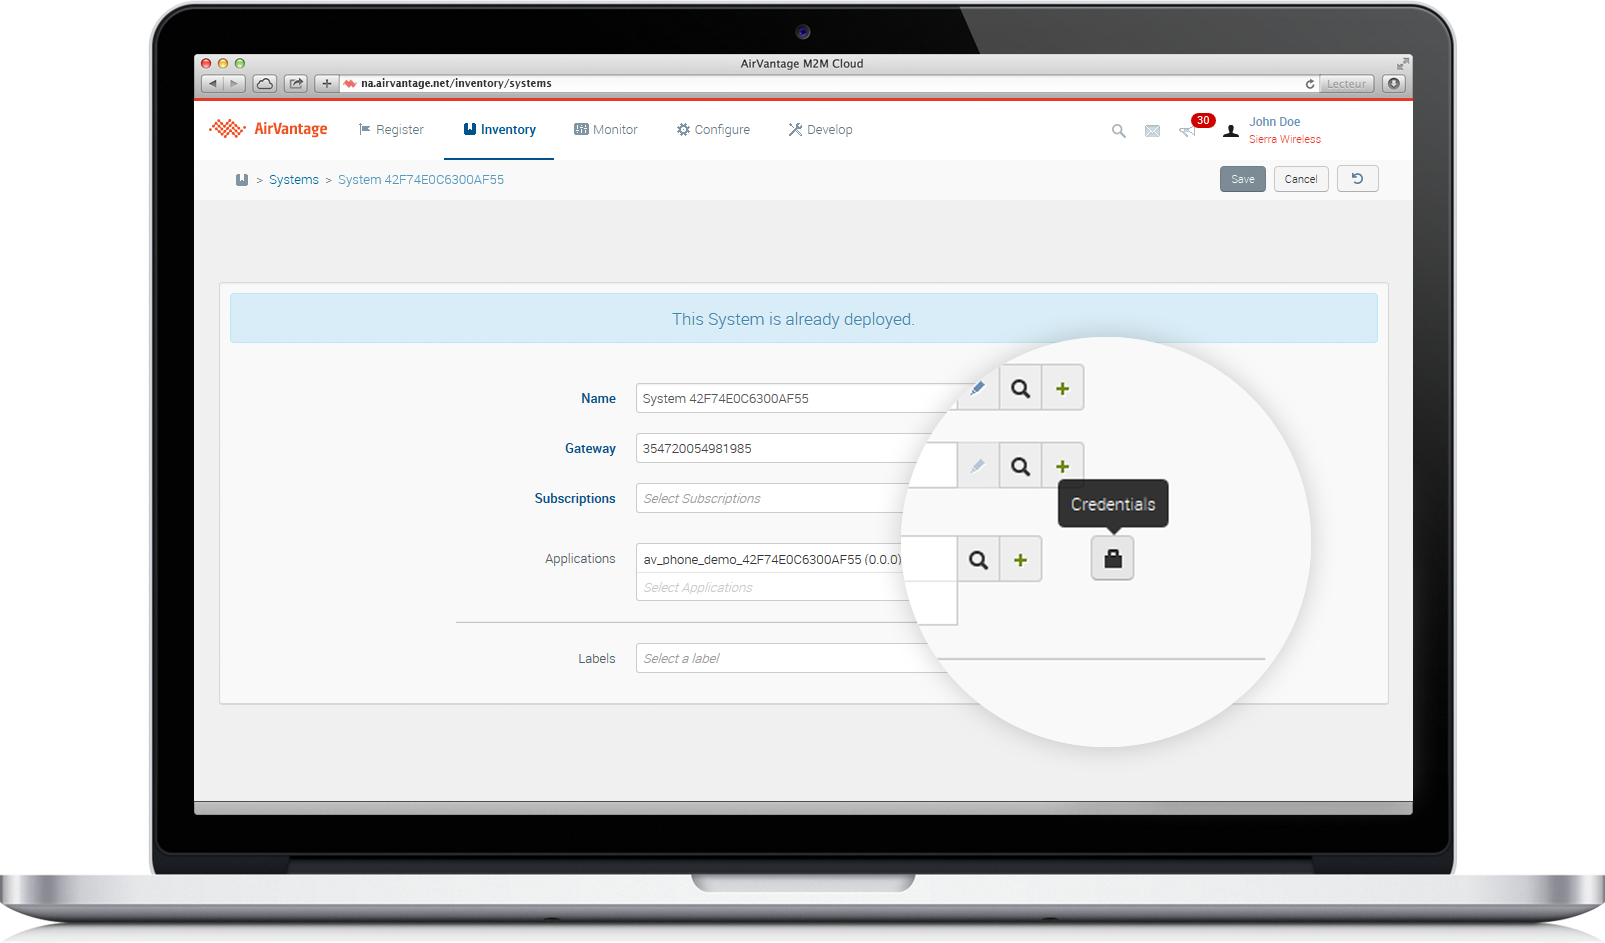
Associate your application to your system
- Click on the application to select it.
- Click on the padlock and configure the password.
- Click on Save in the right top corner
- Click on the Monitor icon to monitor your system
Step 3: Implementing an application
It is now time to write an app for our SL808xT. You can have a look about using MQTT in AirVantage, if you want to have a description about the serialization details.
The app
USB configuration
If you are using a serial port to communicate with your device, go on the next section. If you are using an USB connection with your device, do the following :
- Edit the main function and modify the file source appli.c in bold:
    /* Comment the following line to suppress low-level traces: */
    WIP_NET_OPT_DEBUG_PORT, *WIP_NET_DEBUG_PORT_USB*, // low level traces put UART1 if using Serial
    WIP_NET_OPT_END);
- Save the file.
- Edit the
entry_point.cand update the server adress (if needed) and the password at the end of the file:
  /* mqtt library context*/
  av_mqttConfig_t config = {
      .bufferSize = sizeof(buffer),
      .buffer = buffer,
      .pingPeriod = 30,
      .callback = &serverCallback,
      .callbackCtx = NULL,
      .deviceId = deviceId,  // imei of device
      .serverAddress = "eu.airvantage.net",
      .serverPort = 1883,
      .serialization = SERIALIZE_JSON,
      .password = "1234567890",
      .qos= QOS_1
  };
- Edit the WIP_CFG/cfg_gprs.c and update the APN (mandatory), username and password (if needed):
#define GPRS_APN        "apn"
#define GPRS_USER       "user"
#define GPRS_PASSWORD   "password"
#define GPRS_PINCODE    "0000"
#define GPRS_BEARER     "GPRS"
- Compile the application by clicking on the tool button (by default, the DEBUG version is compiled).

Upload the application in the module
Once the binary has been generated, you can:
If a hyperterminal (or any serial port terminal) was previously used to send AT commands, close the connection from the hyperterminal (or any serial port terminal).
- Right click on your project in the Project Explorer
- Select
Download on the Embedded module - Select the correct port COM and click Ok

View your application running
- Go to the Target Management view by using the Window menu > Open Perspective
Look, it is alive:

+WDSI: 0
[GPRS]: GPRS CTX (cid=1) found
[GPRS]: GPRS EVENT: 27 (cid=1)
[GPRS]: GPRS CTX (cid=1) found
[GPRS]: GPRS EVENT ACTIVATE OK (cid=1)
[GPRS]: GPRS: -> CONNECTED
[entry_point] Device id 353270040962302
[entry_point] Network up, starting application...

[MQTT] connecting to client eu.airvantage.net:1883
[WIP] new TCPCLIENT 0x1814f3fc
[MQTT] Connection established successfully
...
[MQTT] 60Bytes have been sent for Connection.
...
[MQTT] 4 bytes received.
...
[MQTT] Waiting publish (4)

[callBackFct] Callback user is called
...
[callBackFct] End callback user
...
[Entry_point] Reading measures :  temperature=25, humidity=44.000000, luminosity=74.000000
[Entry_point] Reading measures :  temperature=25, humidity=36.000000, luminosity=79.000000
[Entry_point] Reading measures :  temperature=25, humidity=45.000000, luminosity=75.000000
...
Your data is now sent. You can check your data communication. Just go to Inventory > Systems, then pick your own and click Timeline. That is it.
Next step
Continue the tutorial by using tools supplied by AirVantage to test your communication with your device.