Test your solution
The next step when you develop an application is to test its behavior. AirVantage provides several features to help you debug and validate your IoT solution.
We assume you have already registered your system and you configured it to use your application. Now you want to troubleshoot the overall solution. The first step is to be sure your system is communicating well with AirVantage.
Step 1: Test the connection
AirVantage provides several types of information regarding the state of the connection.
Check the connection
- AirVantage stores the Last Communication Date of each system.
- If you registered the device in the READY state, it will switch automatically in the DEPLOYED state at the first communication.
- If you implement a regular connection to AirVantage, for instance your device is sending data every 1h, you can configure the communication pattern on the device and define some rules to detect communication failure. Depending on this configuration, the Communication Status will switch from OK, WARNING, ERROR accordingly. See the dedicated article about Heartbeat, Communication status and Alerts .
Debug Communication
To be sure your system is communicating well, AirVantage proposes a screen to see all the messages received from a given system.
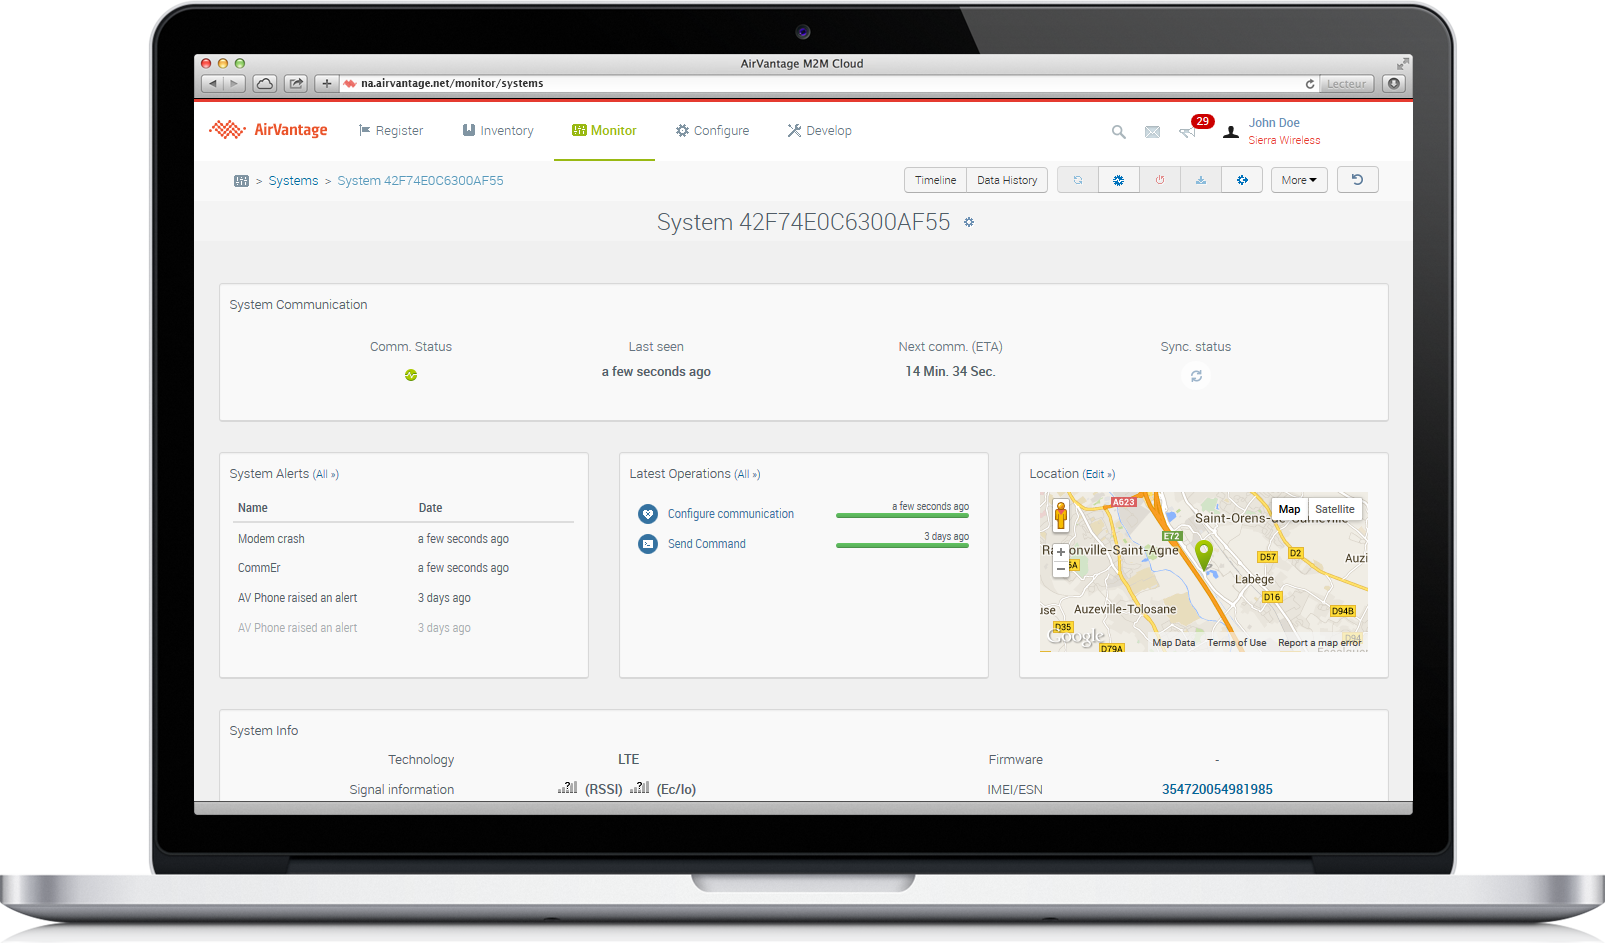
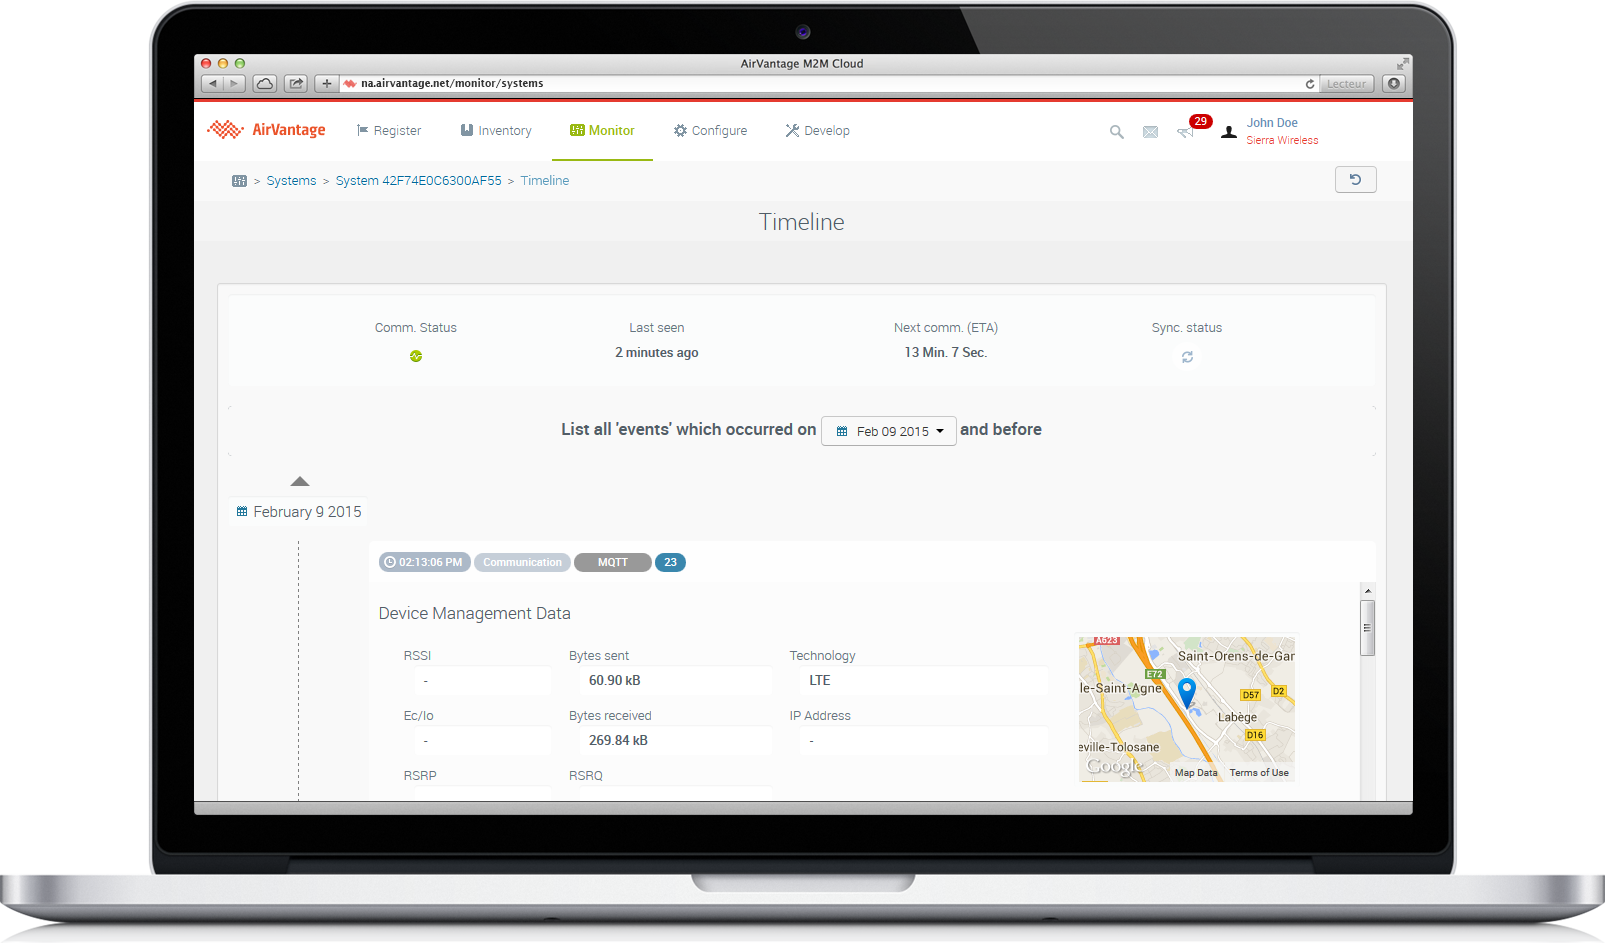
It’s available through Monitor > Systems. Select your system and go to its details page then click the “Timeline” button. You should see the screen on the right.
Each bar represents a communication received by AirVantage for the selected system. If you click one of the bars, the data sent in this communication is displayed under the graph.
So if you don’t see a communication bar where you expected one, check the communication configuration on the embedded side:
- The identifier
- The URL of the server
- The password
- The network configuration
In each bar, the set of data sent to the server is listed. So you can check all data has been sent correctly. If data is displayed with a path, that means your application model is not correct and you may check the path consistency between the embedded application and the application model.
Step 3: Interact with your system
Once the communication between AirVantage and the device is working fine, you want to validate the behavior of your solution more comprehensively. You can interact with the device using “Apply settings” and “Send commands” operations (depending on the features supported by your embedded applications).
Send commands
To send commands, you go to Monitor > Systems, select your system and go to its details page. Then you can click on the “More” button and select the “Custom command” action. It opens the following dialog. In this dialog, you can select one of the commands available on your system. When you click on “Create”, it initializes a “Custom command” operation (in progress state)
You can check the progress of this operation by switching to the “Operations” tab. The operation will be executed by default at the next communication from the system.
The Send Command operation status on AirVantage portal should be changed to green, indicating a successful completion
Apply settings
To send a value, you need to have declared a setting in the application model associated to your system. Then you can edit it by following these steps:
- Find your system in the Monitor activity > Systems, select your system and go to its details page.
- Go to the detail page of the application containing the setting you want to modify. Here you can see the values sent by the device.
- To modify a value, click the Edit button. You can change the value of the settings of your application (the settings are defined in the model of your application).
- Modify the values and click Apply at the bottom of the page. An operation “Apply settings operation” is created to perform the task.
- Go back to the system details page to monitor all system operations. The operation will be executed by default at the next communication from the system.
Request the device to send back a value
The mechanism by which you can request values from a device using Airvantage works through Dataset. A Dataset specifies a list of variables and settings that AirVantage has to retrieve from the device.
- You need to create a dataset .
- From the Monitor activity, on your system detail, you will be able to launch a retrieve device data operation.
 Searching...


