 Searching...
How to use the Microsoft Azure EventHub Connector
Integrate and extend your AirVantage platform
Here we give you an overview of what you can do with the AirVantage Cloud Connector to send event to Microsoft Azure EventHub and getting messages from your EventHub.
We’ll explain all the technical aspects needed for a robust, secure & reliable interface:
- principles & best practices
- configuration & authentication
- how to get messages
Principles
This section explains when and why to use the Cloud connector, what it is and the available options.
Introduction
The Azure EventHub Cloud Connector provides:
- message (operation, data or alert) notifications from AirVantage
- Routing mechanism
- Robust messaging for applications
- High volume messaging
- Runs on all major operating systems
- Open source libraries for several common languages (java, c#, python, PHP, …)
Parameters
When you connect AirVantage to EventHub Streams, you have to define the type of notifications you want: operations, data, alert.
Moreover, you have to supply the connection string which identify where to send the messages.
Configuration
This section explains how to configure your client. Please read carefully this section in order to supply correct information to enable the end point on the AirVantage side.
Prerequisites
Set up a Microsoft Azure services account here .
Introduction
The policies describes the rights allowed for a MS Azure account on a specific object (here an EventHub sream). The connection string contains the policy and the targeted EventHub information to allow an application to send messages to an eventHub.
The next steps describe how to generate this connection string.
Configuration Process
Step 1. Create an Azure EventHub stream in the customer’s Azure account, into which AirVantage will publish:
- In the left menu, click on
>and filter with Event Hub - Click on Event Hub
- Click on
Addin the Event Hub management page to add a namespace - Fill each field as your convenience and click on
Create

Step 2. Create your Eventhub:
- In the menu, select
EventHubs - Click on
+Event Hubin the top - Fill the name and change parameter at your convenience
- Click on Create

Step 3. Create a policy in the customer’s Azure account:
- Select your eventHub
- Click on
Shared access policies - Click on
Addto add a new policy for AirVantage - Fill each field. Enable Send (mandatory) and give it a name

Step 4. Supply the following information using the CRM
and select Request Support:
- Connection string-primary key
- Kind of messages you want to receive:
- Alert event: any alert rule triggered will be send
- Operation: any operation state will be sent (creation, progress, success or failed)
- Usages: any SIM usage
- New message sent by the device: any device incoming communication
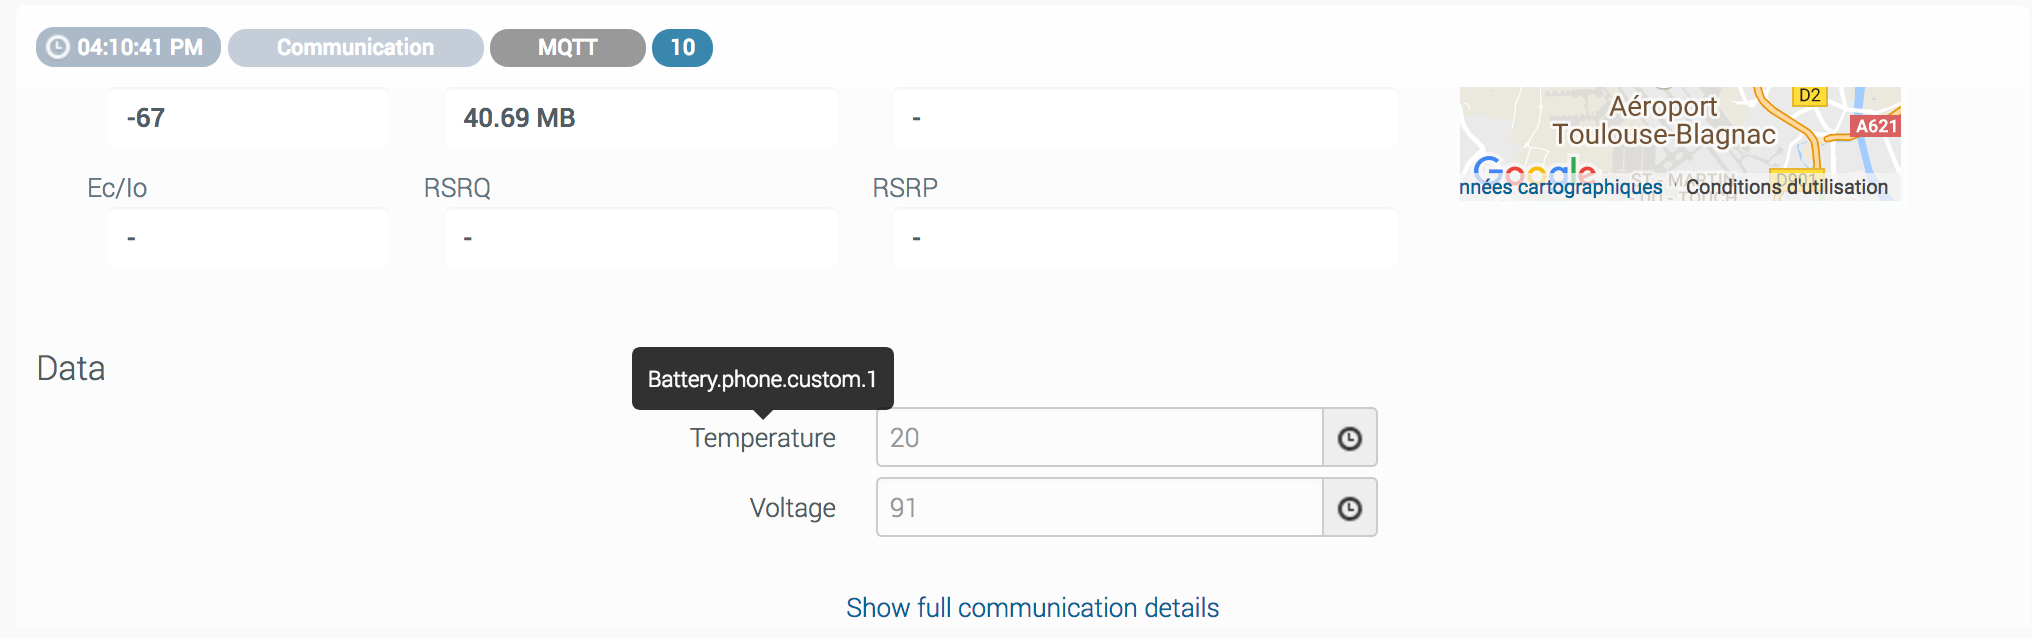
- Optionnaly you can supply the data path to whitelist the data (only the values for these data will be sent in the data stream). To get the data path for a data, you can go to the timeline to view the data path in the tooltip like in the screenshot below:

Test your setup
You can check that the data received from AirVantage shows up in the stream monitoring provided by Microsoft. The graph that describes the number of incoming request lets you ensure that AirVantage is connected to your EventHub stream. If no data is shown, you need to check your configuration.
You can reach this graph in your EventHub’s verview section by scrolling to the bottom.

Get the messages
This section explains how to consume the messages from EventHub in order to support high volume messaging.
EventHub is limited to event lesser than 256k (see this page , section
Batch event send operations). So you may avoid to push over-sized data.Other limitations can be applied according to the selected offer (see Event Hubs Pricing page).
You can follow this tutorial to start to consume your messages