Subaccounts
This topic explains how to create and configure your company’s Subaccounts, and assign new SIMs to each them.
 Initializing Table Of Contents...
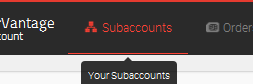
Introduction to Subaccounts
Subaccount management is an optional feature. Usually subaccounts are used to split SIMs and resources between your own customers, but sometimes they are also used to manage different business units - in particular it’s a useful way to restrict user access to just part of the global fleet.
If you think this feature could be valuable for you, you can discuss it with your usual sales contact.
With the subaccounts option activated, you can select the Subaccounts menu from your main company account’s menu bar.
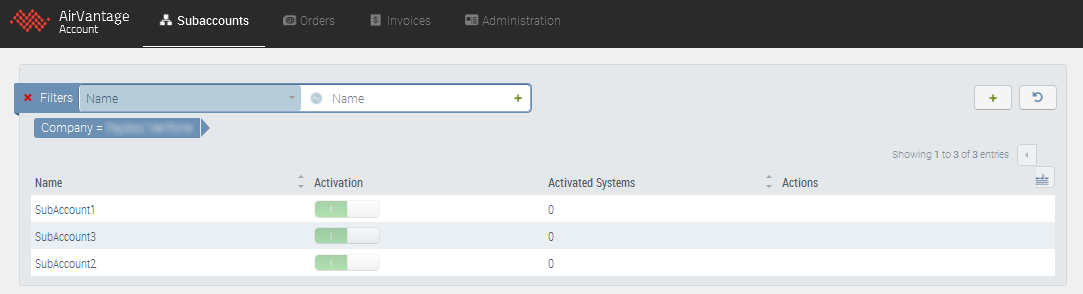
Clicking on this Subaccounts Menu will display your Subaccounts list:
Create and configure a new Subaccount
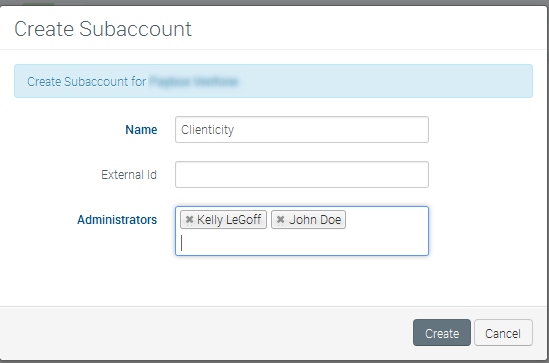
To create a new Subaccount, select the ‘Create’ button on the Subaccounts list: 
Enter a Name, an optional External ID, and people that will be Administrator(s) of this new company.
In this example, we are creating a new Subaccount called ‘Clienticity’, to which we will assign two Administrators.
Now click the ‘Create’ button to finalize the subaccount. It will then appear in the Subaccount list.
Assign an offer to a Subaccount
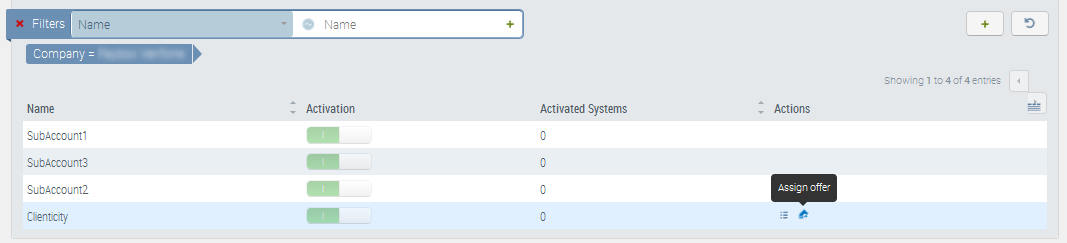
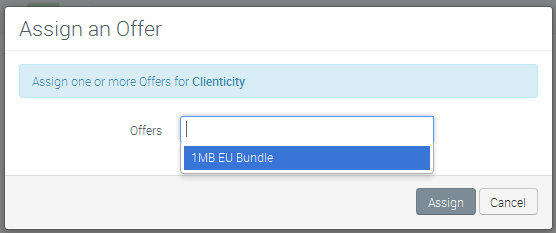
To add an offer to an account, select the Assign offer option in the corresponding Actions column:
Select one or more available offers and click the ‘Assign’ button.
Create new users in a Subaccount
Please note that you need to be administrator of the subaccount to be able to create users in this subaccount.
Switch from the main account to the Subaccount.
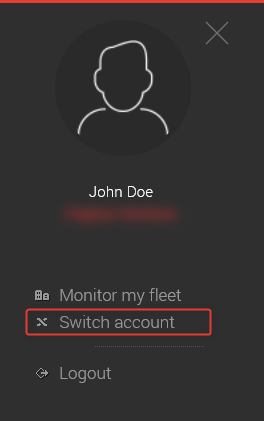
Select the User Menu in the upper right corner of the screen. Select ‘Switch Accounts’, and from the Change Company list choose the Subaccount to which you have transferred the SIM(s) - in this example, Clienticity.
You can check that the account focus has changed, under your ID at the top right of the screen:

Then you go into the Administration menu for this subaccount and create a new user as described in Administration activity documentation.
Transfer resources to a Subaccount
In this example we will explain the way to transfer one or a few SIMs to a subaccount, then activate them.
Display the Connectivity Portal for your main account. Select one or more SIMs from this list, then from the ‘More’ Actions dropdown, select ‘Transfer’.
Select the Subaccount from the Partner list, and click ‘Transfer’.
The status of the transfer will be updated in the Operations list.
Note that if you have a large number of SIMs to transfer and activate - hundreds or even thousands - you will find it easier to use the filtering methods explained in the How To Launch a Bulk Activation topic
As an alternative, there is also on transfer widget that can be added to your start page dashboard to launch a transfer operation very easily:
Activate systems/SIMs for a Subaccount
The SIM(s) that you have just transferred to the selected Subaccount are still in the Inventory state. To promote them into service, you must now Activate them.
To do this, switch from the main account to the Subaccount.
Select the User Menu in the upper right corner of the screen. Select ‘Switch Accounts’, and from the Change Company list choose the Subaccount to which you have transferred the SIM(s) - in this example, Clienticity.
You can check that the account focus has changed, under your ID at the top right of the screen:
Now select Monitor my fleet to switch to the Connectivity Management Portal, where you will see the list of SIMs for the Subaccount.
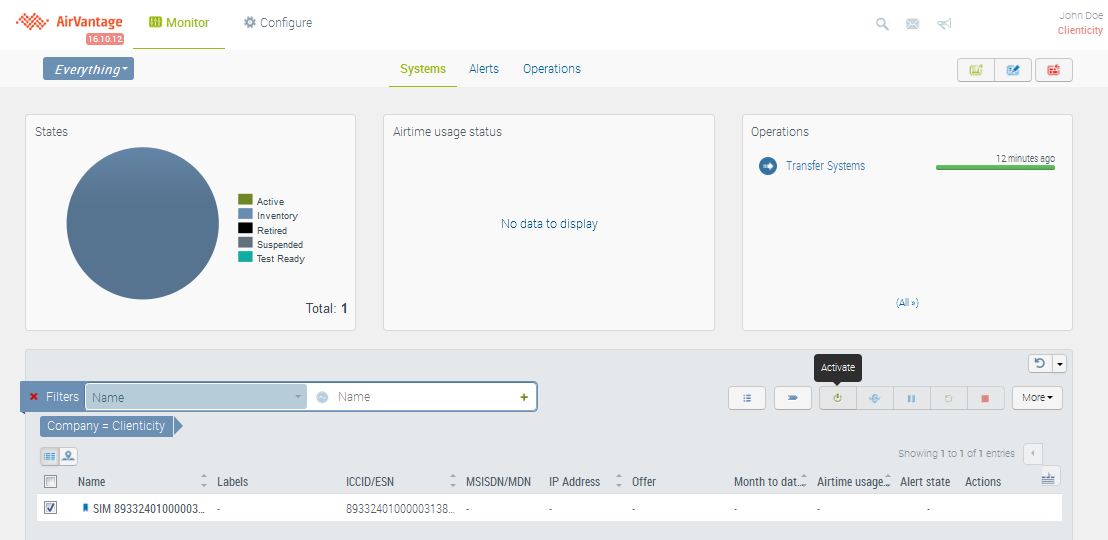
You may wish to apply an Inventory filter, as explained above, to narrow the list. Now select the SIM(s) to be activated, and click the ‘Activate’ button.
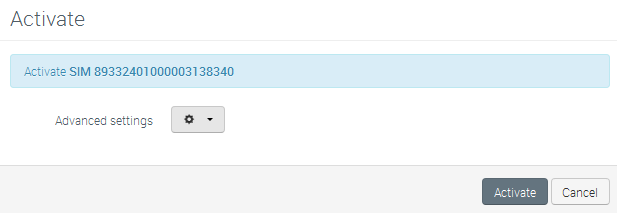
Click ‘Activate’ to complete the action.
How-Tos
This section provides you with helpful procedures for common tasks.