 Searching...
Adding Multiple Gateways to an AMM
Version 2.15.1.1 and above includes a feature to import multiple gateways using device ID information stored in a CSV file.
An additional benefit of this feature is that it can also be used to reorganize the folder structure for existing gateways and move those gateways into new groupings.
Use the following steps to import multiple gateways from a CSV file:
- Select Admin -> Gateways from the menu to display the Gateways screen.
- Click on the Upload button:
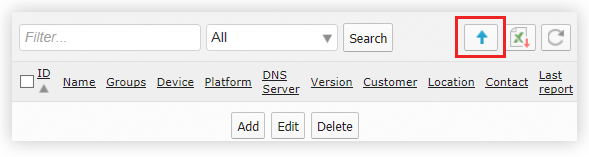
The upload button which provides the ability to add multiple gateways.
- Click Template to generate and open a new CSV file.

Creating a new CSV from the template.
- Open the file in a spreadsheet application.
- Edit the CSV file to include information about each gateway to add to the AMM. See Multiple Device Import CSV for more information about how to populate this CSV file.
- Save the CSV file.
- Click Select a file and select the CSV that was saved to disc. Upon selecting a file, the Gateway List Import popup will display:
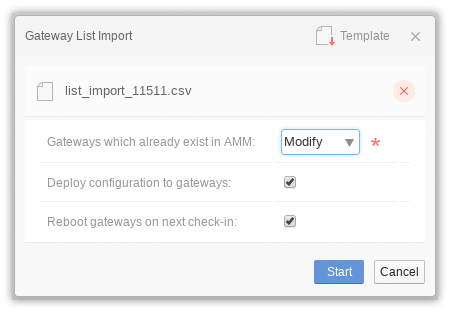
- Specify an option for the *=Gateways which already exist in AMM field:
- Ignore: any gateways listed in the spreadsheet that already exist on the platform will not be added or modified.
- Modify: updates the configuration of any gateways that already exist on the platform.
- Deploy configuration to gateways (only displayed when Modify is selected): when selected, the gateway goes into the Out of sync - local state, followed by the Config confirmed state once the changes are accepted by the gateway. This is equivalent to selecting Apply on the Config->Deploy screen. If not selected, the gateway will go into Modified state, and you will need to go to the Config->Deploy screen and click Apply in order for the configuration change to take effect.
- Reboot gateways on next check-in (only displayed when Modify is selected): reboots the device(s) to apply the changes.
- Click Start to import the devices.


After the import is complete, a summary page is presented to provide information about the result of the import process.
Note: AMM 2.16 and above supports the ability to apply unique MSCIID values on ALEOS devices. For more information see: Configuring Device-Specific Parameters for ALEOS Configurations from the AMM.
Note: AMM 2.17 and above will automatically update the authunits lookup file so that incoming management tunnel requests are accepted.