Getting started with AirPrime HL Essential Modules
 Searching...
If you already have a host processor and you want radio connectivity, you can use an essential module and a library to communicate with AirVantage. It provides all the great device management and application management features supported by your host, it’s really simple to use and it does the job for simple data exchange.
Follow this tutorial to connect your Essential module with AirVantage.


What are the supported devices and modules?
The following essential modules are supported:
and not supported:
- EM73xx
- SL9090
- SL809X
- AR*
- WP*
Any issues ?
If you encounter any issue to set up your device, don’t hesitate to use the developer forum to benefit from the developer community experience.
Step 1: Connect your device to AirVantage
These modules don’t include any Application Framework. You need to integrate a connector in your host application to enable the connection with AirVantage.
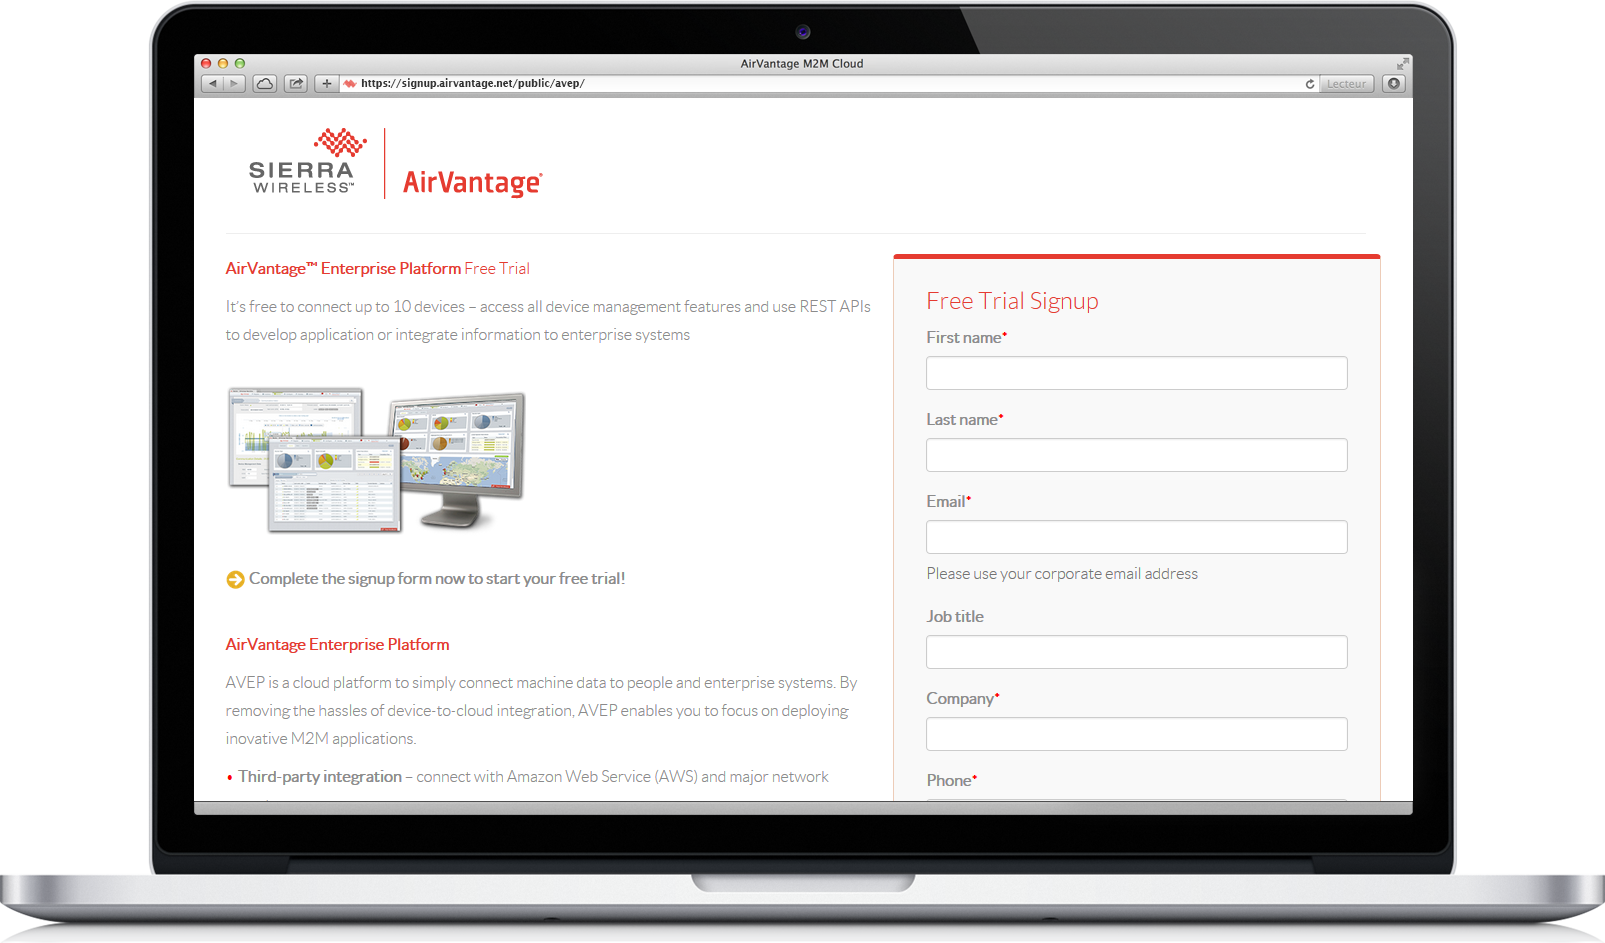
Create an account
- Register for an AirVantage Platform account .
- You will receive an email when your account is up.
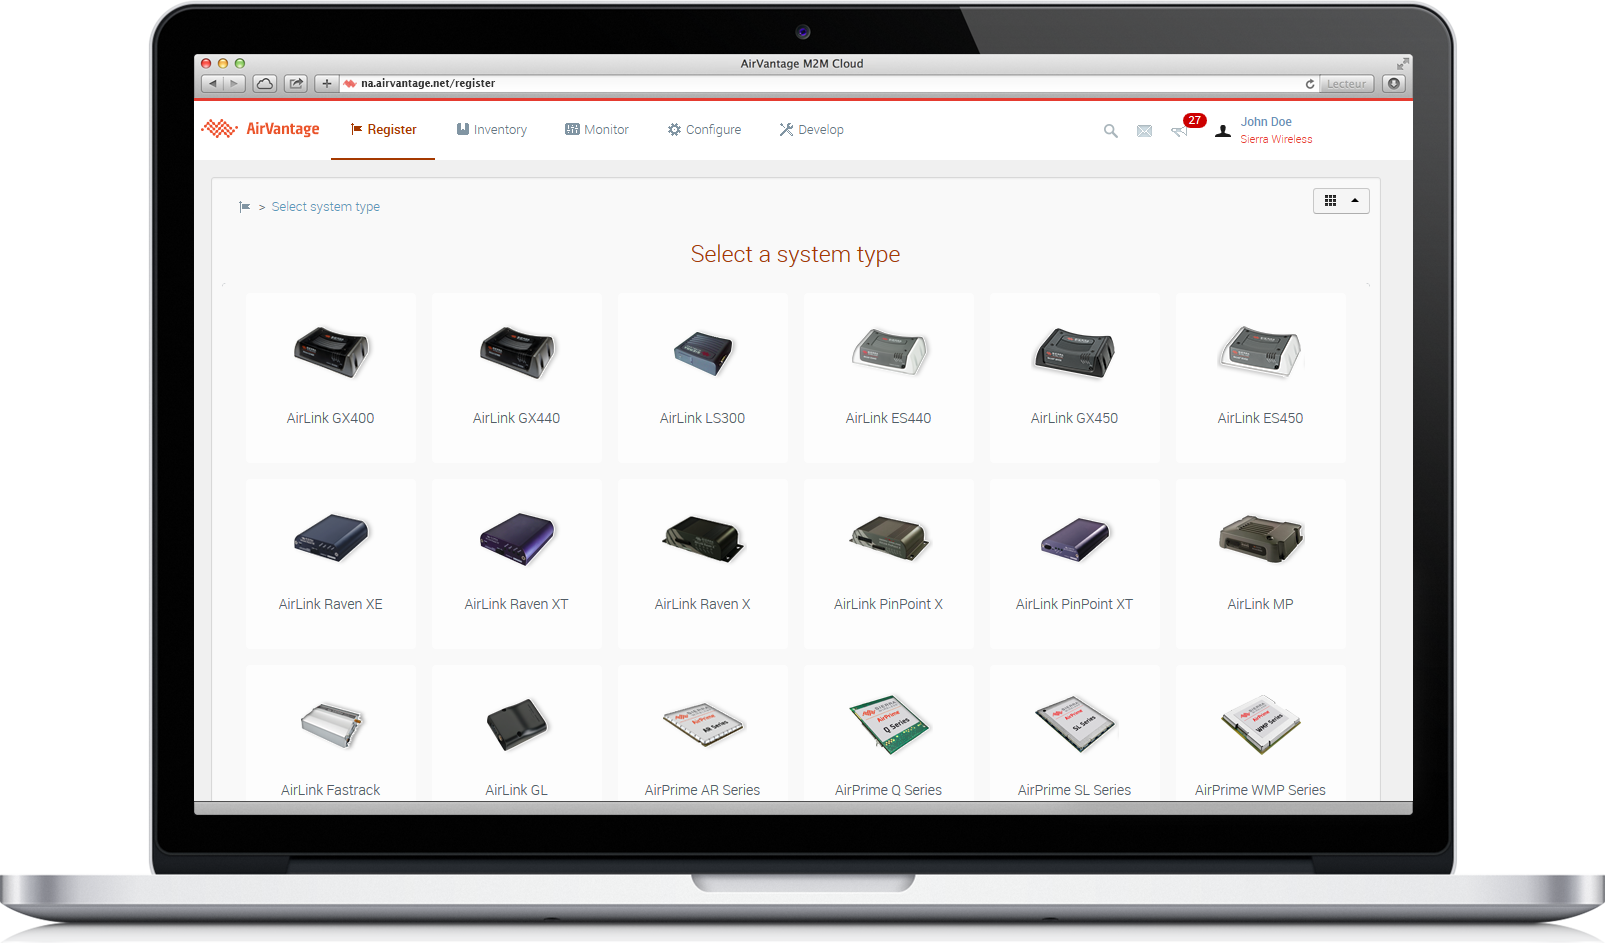
Register your system
What is a system? A system represents:
- A module which supplies the connectivity
- A SIM card which give the network access (if any)
- Some applications running in the hardware (any host such as micro controller or processor)
- Go to Register activity
- Click on the “AirPrime HL Series” section
- Select your HL series module
- Fill the serial number and IMEI fields
- Set a name and click on Register
- On the module side, follow the right help panel to set a communication policy and create a communication.
- In the list, when the module is synchronized (the synchronization icon is green), select the newly created system and click on the “Monitor” icon
How to find Serial Number and IMEI
To get these two information, open a serial port terminal (like Tera Term, …) and send the following AT commands:
For the IMEI:
at+kgsn=1
+KGSN: 3595150503142506
Note: For HL6 and HL78, use AT+CGSN at command instead.
For the Serial Number:
at+kgsn=3
+KGSN: HD513700430510
How to open a session with AirVantage
To start a session with AirVantage, open a serial port terminal (like Tera Term, …) and send the following AT commands:
at+wdss=0,“your_apn”
OK
at+wdss=1,1
OK
If you get any ERROR, check the AT Commands guide for your module.
Check the connection
- Go on Monitor Activity > Systems
- Select your system and display the System detail
- Click on the Configure Communication button on the top of the page
- Toggle on the Heartbeat check and click on the Ok button in the dialog box
- On the top of the page, the communication status will be updated

Manage your device
Although it’s optional, it’s useful to synchronize your device with AirVantage at least once to check if configuration is correct.
Have a look here to learn how to synchronize your system and how to use the Device Management Features.
Step 2: Design your application
In this step, we are going to send data using the MQTT API for devices. A huge choice of libraries for a large set of hardware and languages is available on the web. Choose the one best suited to your hardware.
You can use REST API for devices as well. As soon as you have an IP stack and the capability to do HTTP calls, you can use our HTTP API for devices. It doesn’t give you all the fancy device management and application management features but it’s really simple to use and it does the job for simple data exchange. Read the following article to learn how to use the REST API for devices to easily enable the communication with AirVantage from your embedded application.
You’re ready to implement your embedded application on:
Step 3: Test your application
Finally test your application by using this tutorial .
Step 4: Define a dashboard and rules
Once your system communicates correctly and data values are stored in AirVantage, you may want to automate the analysis by using rules and display it in a dashboard. Have a look at this tutorial to learn how to define a rule and design your operational dashboard.
Step 5: Use the API
Now you checked and visualize your data, you may want to use them in your specific application. Have a look at our AirVantage API to learn how to use this API to build powerful applications.
Sample code
Greenhouse
This sample (used in the above steps) publishes emulated Temperature and Humidity to AirVantage, and receives the “TurnOn” command from AirVantage.
You may adapt this code to fit your needs.
MQTT Spooler
This app automatically converts CVS data to MQTT messages prior publishing to server. It also automatically converts incoming MQTT messages (pertaining to a subscribed Topic) to CSV data. This app could be reused as a quick integration option (no need to deal with MQTT code) with your existing sensor/actuator based application.