Getting started with 3rd Party Hardware
 Searching...
As soon as you have an IP stack and the capability to do HTTP calls, you can use our HTTP API for devices. It doesn’t give you all the fancy device management and application management features but it’s really simple to use and it does the job for simple data exchange.
Follow this tutorial to connect your device with AirVantage.


Which 3rd party devices are supported?
Any issues ?
If you encounter any issue to set up your device, don’t hesitate to use the developer forum to benefit from the developer community experience.
Step 1: Connect your device to AirVantage
The first step consists in declaring your system and your application on AirVantage.
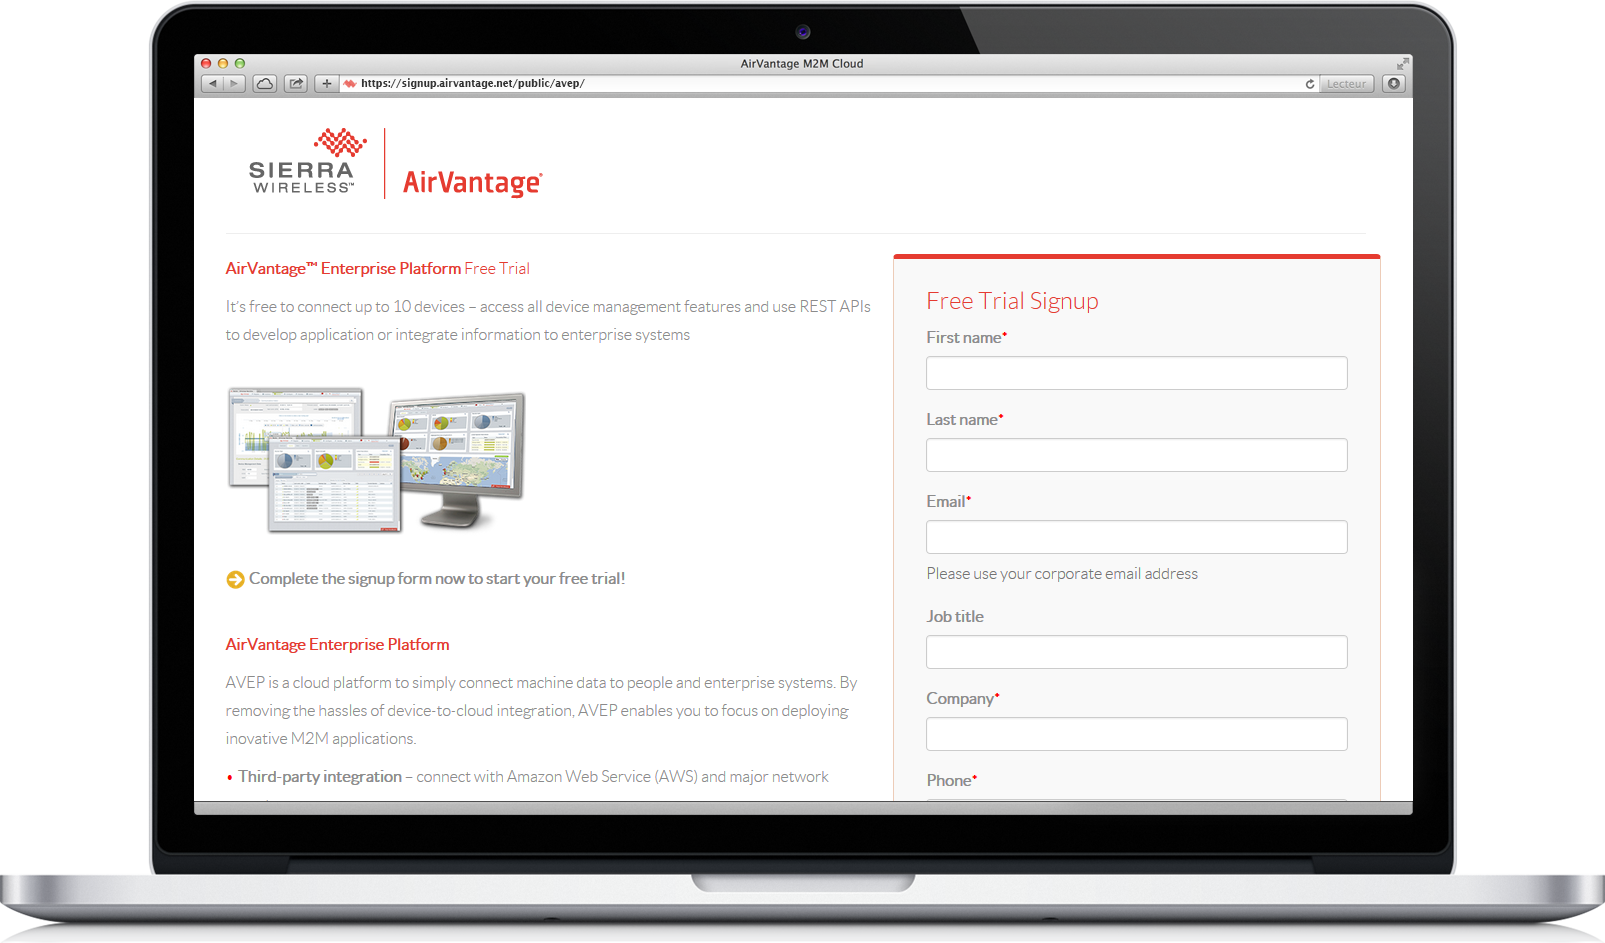
Create an account
- Register for an AirVantage Platform account if needed.
- You will received an email when your account is up.
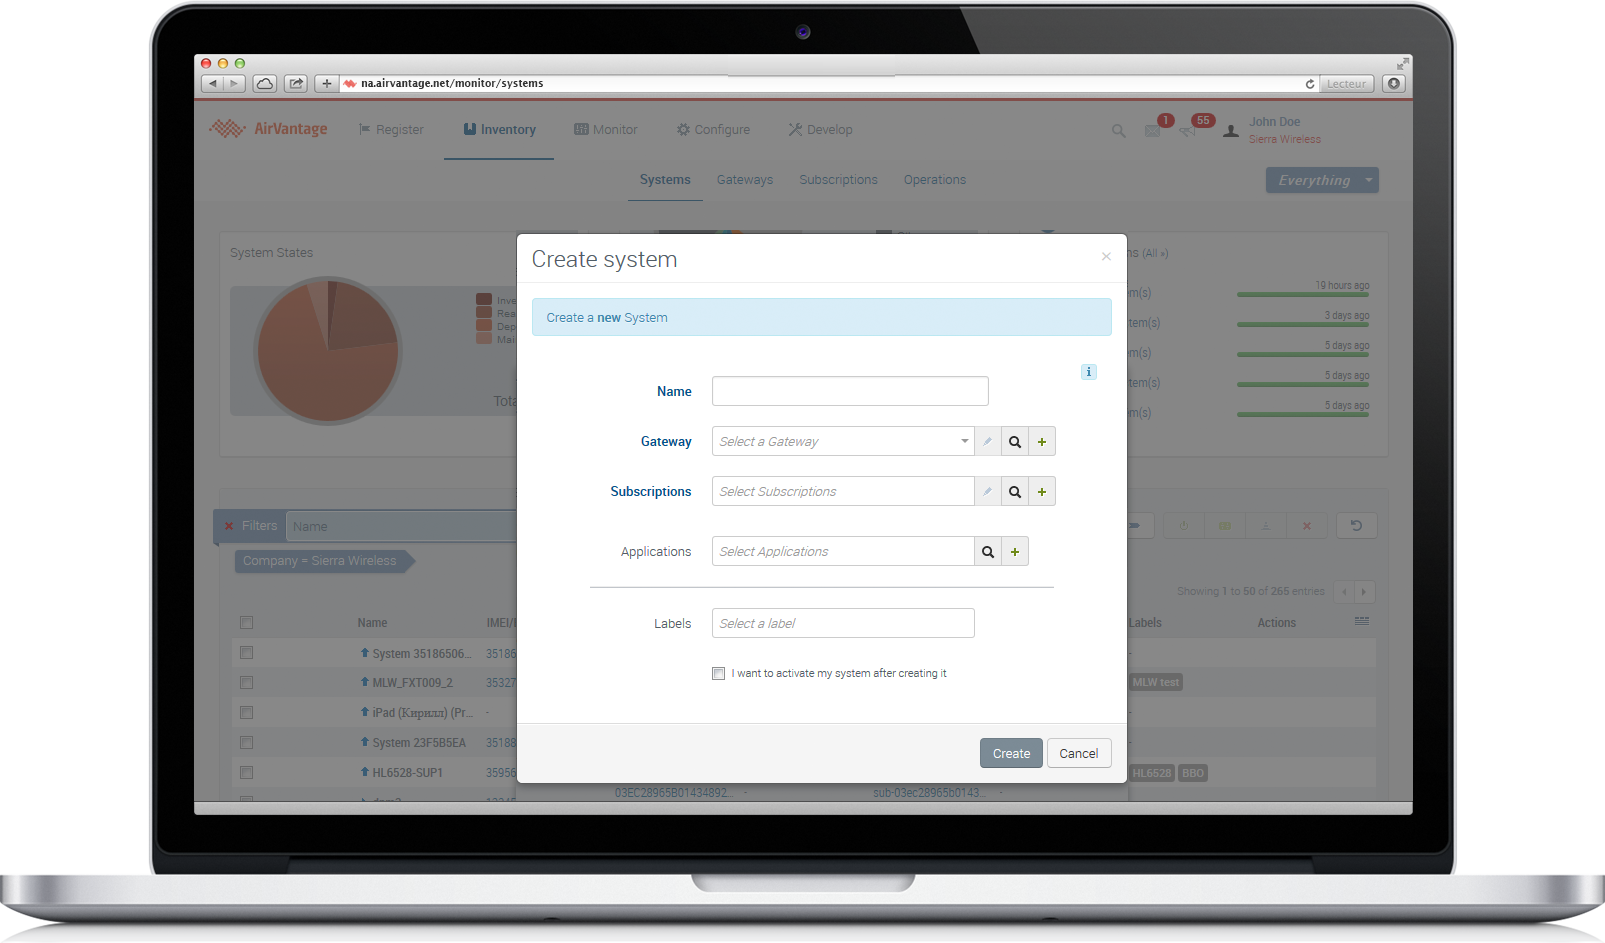
Register your system
What is a system? A system represents:
- A gateway/module which supplies the connectivity
- A SIM card which give the network access (if any)
- Some applications running in the hardware (gateway/module/ any host like micro controler or processor)
- Click on Monitor > Systems
- Select a SIM card then click on Edit in the action bar (menu More). You can alternatively access the required SIM card details then click on Edit. An edition page opens.
- Click on the
Create a new Gatewaybutton in the Gateway line
- Fill the fields Name, Serial Number and IMEI
- Click on Create
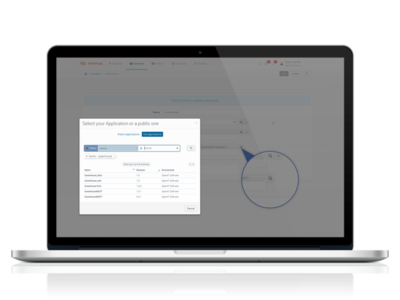
Search your application
- Click on Search application glass icon
- In the new dialog box, select the My Applications tab
- Search your application using its name (
Generic Greenhouse)
If you want to know more about how to declare an application on AirVantage and what it means, have a look at the Application Howto .
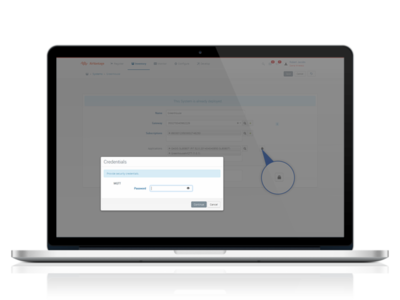
Associate your application to your system
- Click on the application to select it.
- Click on the padlock and configure the password.
- Click on “Save”
Step 2: Design your application
In this step, we are going to send data using the MQTT API for devices. There’s a huge choice of libraries on the web for many types of hardware and languages. Choose the one best suited to your hardware.
You can use REST API for devices as well. As soon as you have an IP stack and the capability to do HTTP calls, you can use our HTTP API for devices. It doesn’t give you all the fancy device management and application management features but it’s really simple to use and it does the job for simple the data exchange. Read the following article to learn how to use the REST API for devices to easily enable the communication with AirVantage from your embedded application.
You’re ready to implement your embedded application. Some samples are available:
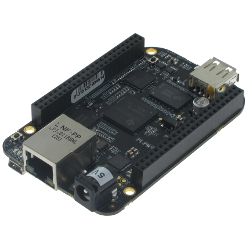
- Using MQTT with BeagleBone Black in Javascript, see this tutorial .
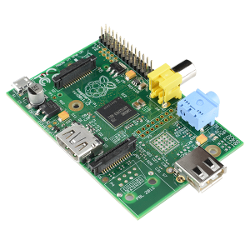
- Using MQTT with a raspberry Pi in c, see this tutorial .
- If you don’t find you device in this list, have a look to this generic tutorial .
Step 3: Test your application
Finally test your application by using this tutorial .
Step 4: Define a dashboard and rules
Once your system communicates correctly and data values are stored in AirVantage, you may want to automatize the analysis by using rules and show them in a dashboard. Have a look to this tutorial to learn how to define a rule and design your operational dashboard.
Step 5: Use the API
Once your system communicates correctly and data values are stored in AirVantage, you may want to automatate the analysis by using rules and show them in a dashboard. Have a look at this tutorial to learn how to define a rule and design your operational dashboard.
Sample code
- Using MQTT with BeagleBone Black in Javascript, clone it on github .
- Using MQTT with an OpenPicus in c, clone it on github .
- Using MQTT with Raspberry Pi in C, clone it on github .
- Using MQTT with ST Nucleo (mbed) in C, clone it on github .
- Using REST with Raspberry Pi in python, clone it on github .