Getting started with Open AT modules
 Searching...
These modules includes the OpenAT Application Framework. You need to integrate the AirVantage Connector in your application to enable the connection with AirVantage.
Follow the tutorial to connect your smart modules with AirVantage.


What are the supported devices and modules?
The following modules and modems are supported (all OpenAT modules):
Smart Modules
Programmable Modems

Any issues ?
If you encounter any issue to set up your device, don’t hesitate to use the developer forum to benefit from the developer community experience.
Step 1: Connect your device to AirVantage
These modules include the OpenAT Application Framework. You need to integrate the AirVantage Connector in your application to enable the connection with AirVantage.
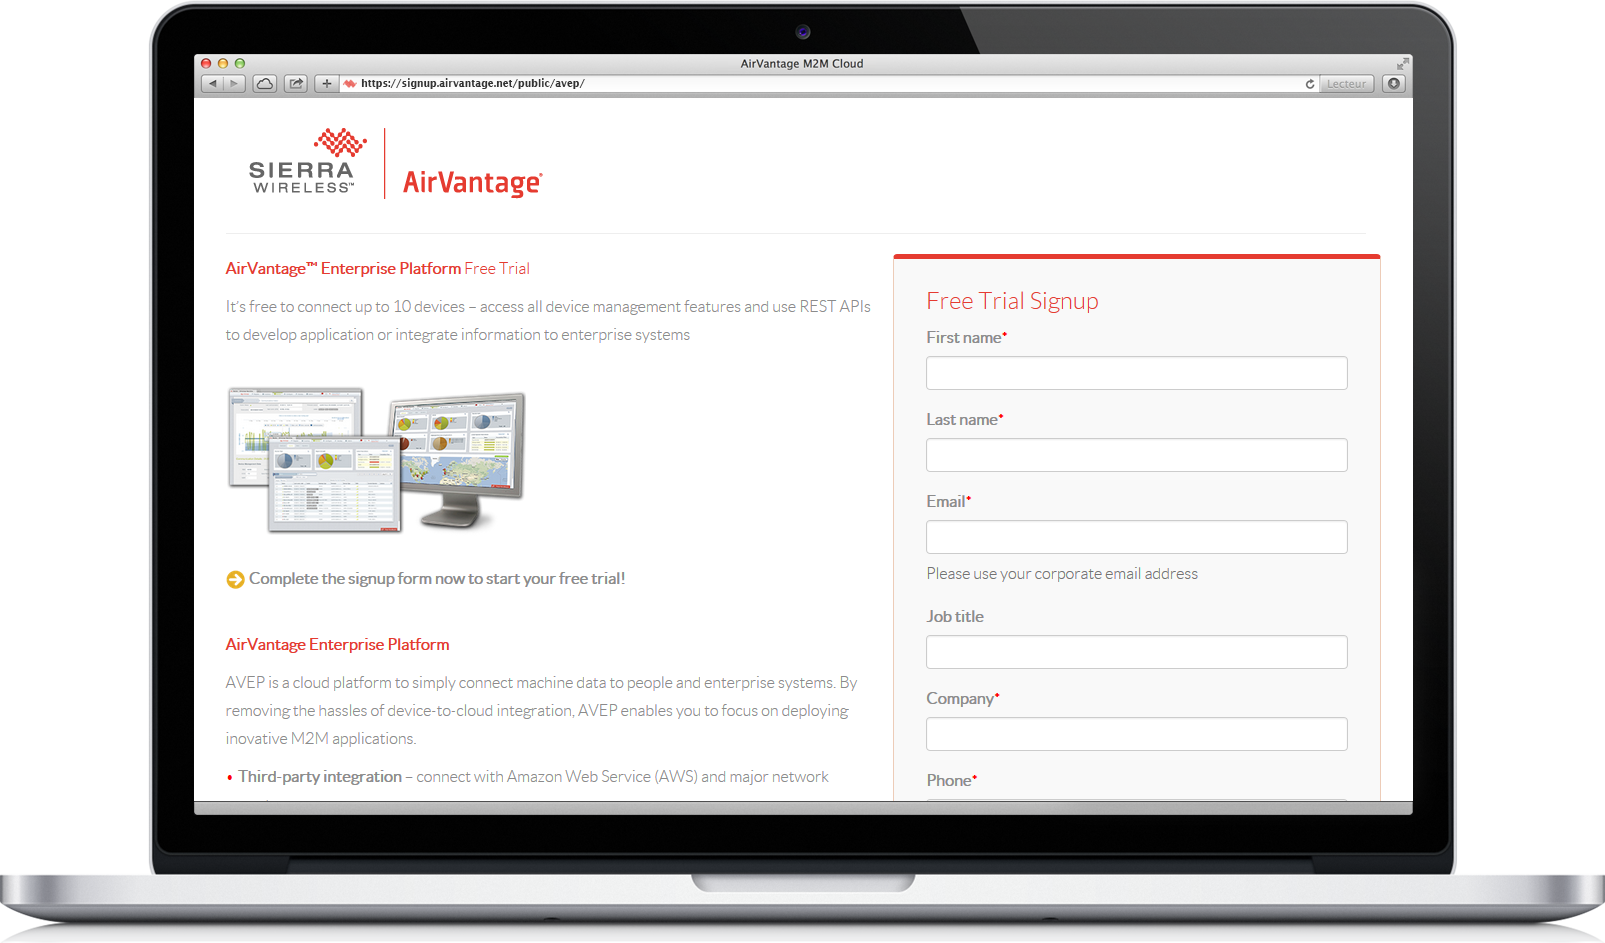
Create an account
- Register for an AirVantage Platform account .
- You will received an email when your account is up.
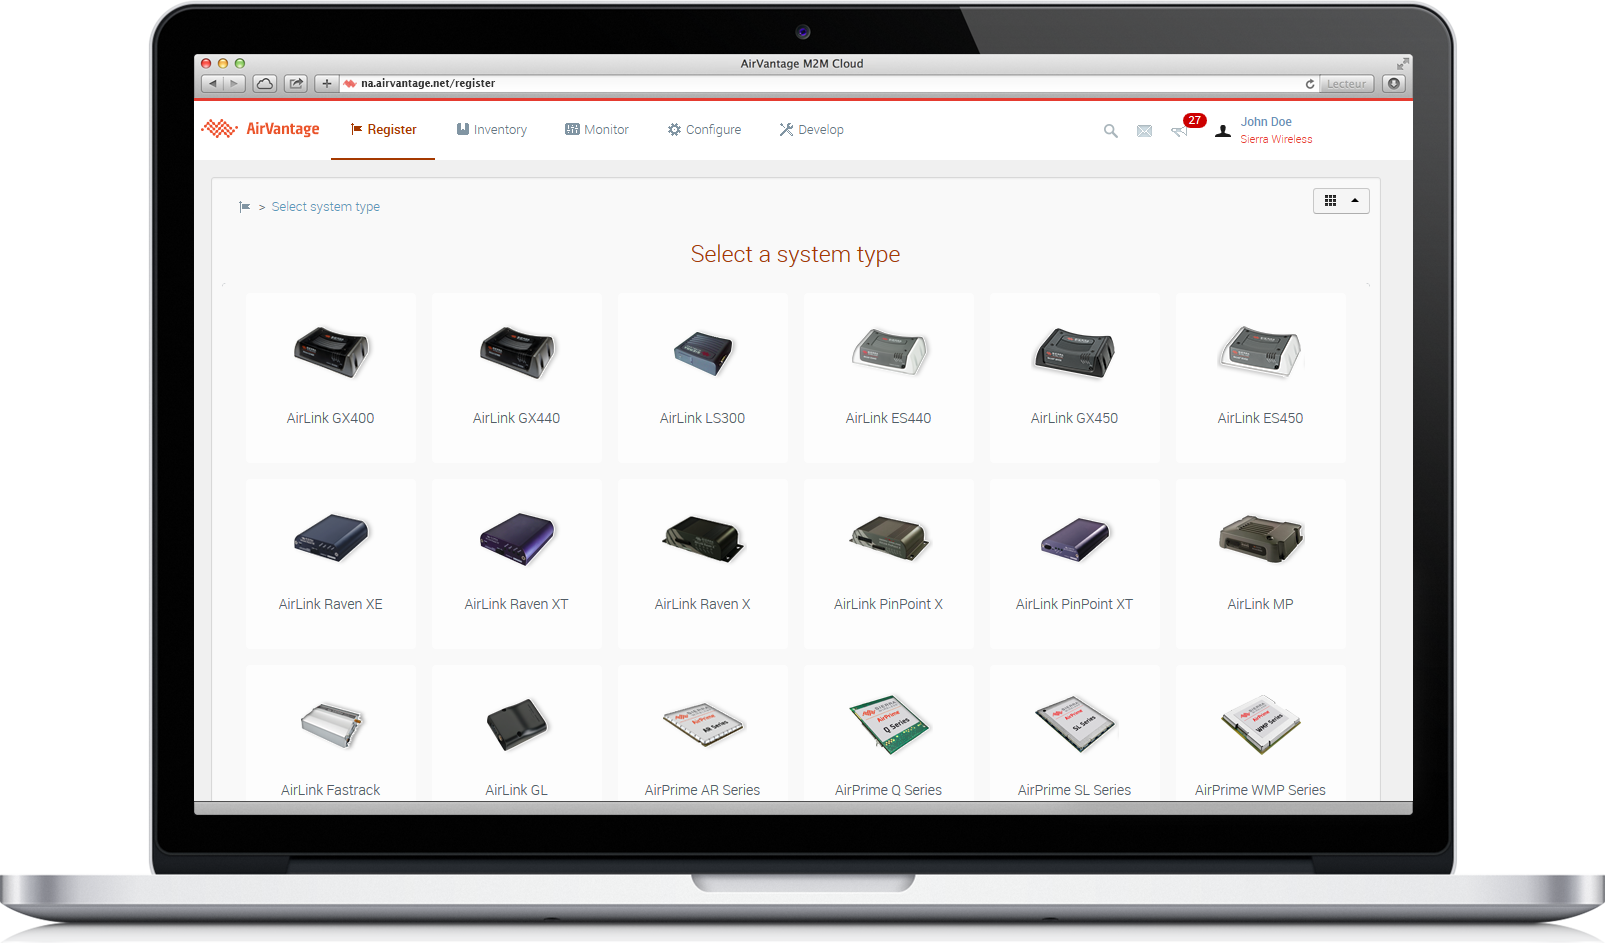
Register your system
What is a system? A system represents:
- A gateway/module which supplies the connectivity
- A SIM card which give the network access (if any)
- Some applications running in the hardware (gateway/module)
- Go on the Register activity
- Select your module or gateway you are using
- Fill the fields Name, Serial Number and IMEI
- Click on Register
- Follow the instructions on the right
Check you have set your APN on the module.
Check the connection
- Go on Monitor Activity > Systems
- Select your system and display the System detail
- Click on the Configure Communication button on the top of the page
- Toggle on the Heartbeat check and click on the Ok button in the dialog box
- At the top of the page, the communication status will be updated

Manage your device
Although it’s optional, it’s ‘useful to synchronize your device with AirVantage at least once to check if configuration is correct.
Have a look here to learn how to synchronize your system and how to use the Device Management Features.
Step 2: Design your application
In this step, we are going to send data using the MQTT API for devices. A huge choice of libraries for many types of hardware and languages is available on the web.
Step 3: Test your application
Finally test your application by using this tutorial .
Step 4: Define a dashboard and rules
Once your system communicates correctly and data values are stored in AirVantage, you may want to automate analysis by using rules and show them in a dashboard. Have a look at this tutorial to learn how to define a rule and design your operational dashboard.
Step 5: Use the API
Once your system communicates correctly with AirVantage and data values can be browsed and displayed, you may want to use them in your specific application. Have a look to our AirVantage API to learn how to use this API to build powerful applications.
Sample code
All sample code is supplied within the AirVantage MQTT connector for Open AT.