How to register systems with an initial configuration?
 Searching...
Initial configuration
To simplify your deployment you can pre-designate the configuration you want AirVantage to apply when it connects the first time:
- Communication intervals with AirVantage
- Firmware version
- Apply labels
Using one or more of the pre-defined workflows is recommended because they enforce an order of operations that is required for a successful deployment. If you create a custom workflow using individual actions (described below), you must ensure that the order of operations is correct. For example, ensure that the AAF password is set before installing an AAF application.
Once the systems start communicating with AirVantage, the operations will be executed one after another, to end up with the desired configuration. Please note that this initial configuration will undertake one operation step only at each device communication interval. The overall configuration may take few device heartbeat periods. The device will reboot one or more times during this process.
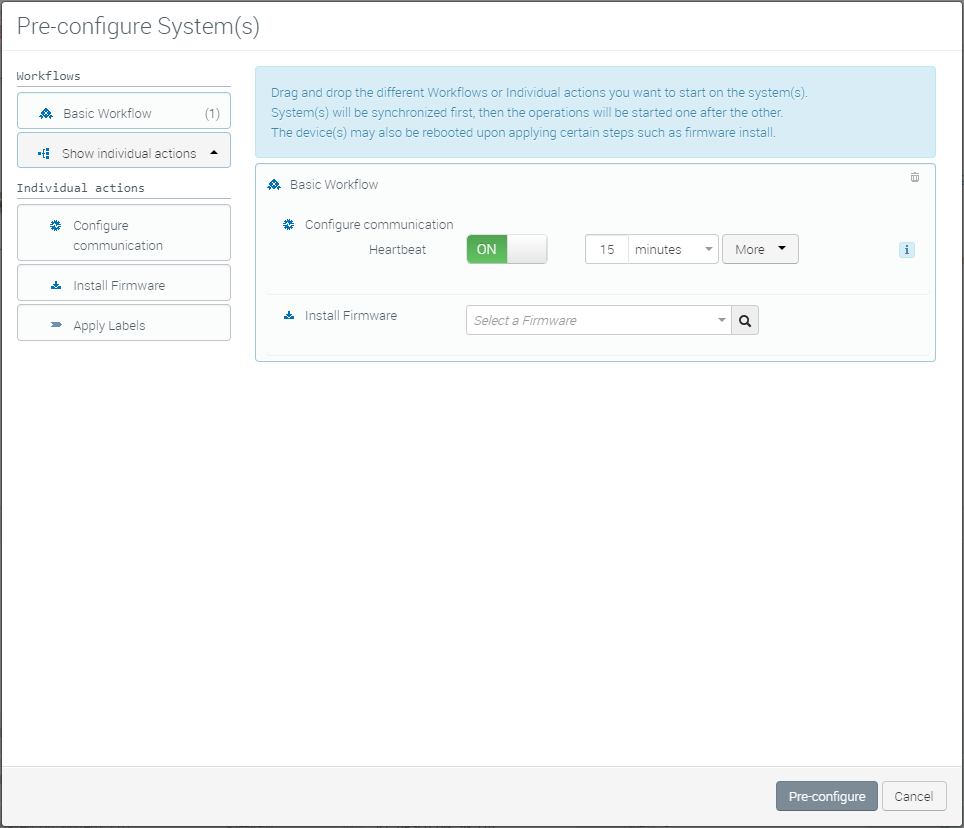
Configure device communication
Heartbeat is the time interval that the device will communicate to AirVantage.
All relevant operations that are in queue in AirVantage are triggered based on the heartbeat. Note that the heartbeat will consume around 1.4 Kb of data.
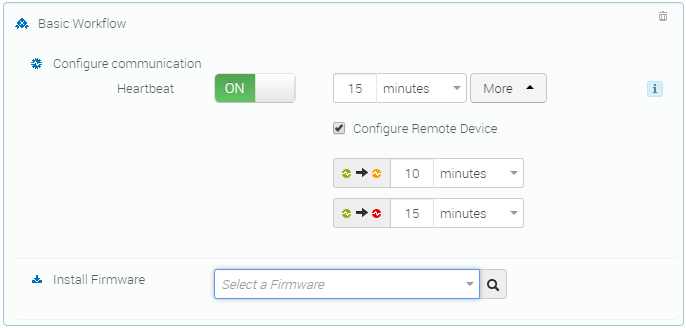
Clicking More expands the window to show two additional timers that relate to the status icon that appears on the Monitor > Systems page. You can enter a timeout value to change the green icon to amber and from amber to red.
Install Firmware
This option lets you apply a firmware update to the systems that you are adding to AirVantage.
Creating a Custom Workflow
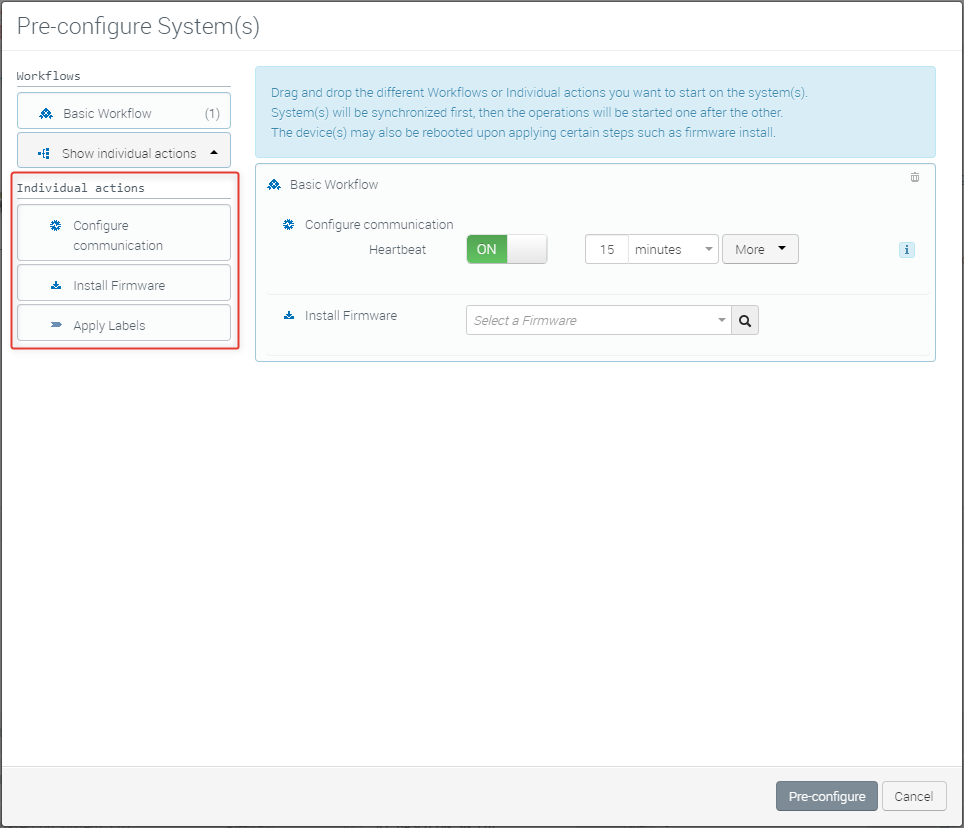
You can customize pre-configuration by adding actions to an existing Workflow or by creating your own workflow from the individual actions available in the left column of the Pre-configure Systems window.
Most of the individual actions are described in the sections above, and include:
- Configure communication
- Install Firmware
- Apply Labels
Click Show individual actions to display the list of available actions, and then drag and drop actions into the main window to create a workflow.
To remove an action, click its “bin” icon ( ![]() ) or drag the action back into the left-hand column.
) or drag the action back into the left-hand column.