How to find a system
This how-to guide illustrates the different ways to navigate in AirVantage to work on a subset of systems and to find any system in your company or its partners. This includes the following:
- Change the context to see the systems of a partner.
- Filter the table using labels.
- Find a system. This allows you to go directly on any system of your company or your company’s partners.
Step 1: Navigate into AirVantage
When you log in to AirVantage, you start in the context of your company (displayed in red). You can see all the systems of this company and only these systems.

Change your company context
If your company doesn’t have any partner, you can skip this step.
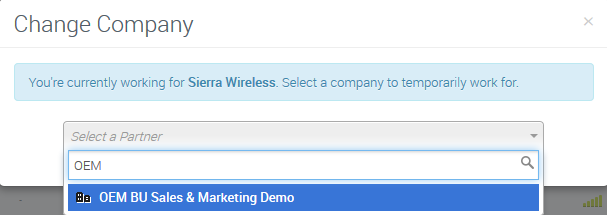
You can change the company you want to work on, by doing the following:
- Click on the company.
- Select
Change company. - Type your partner’s name in the dialog box to filter the list.
- Click on the partner’s name.
Navigate using your keyboard
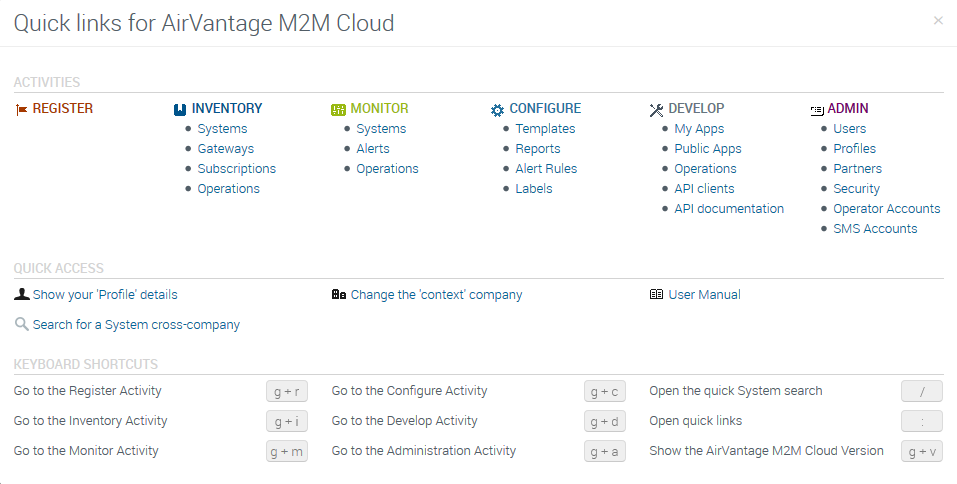
AirVantage supplies several keyboard shortcuts allowing you to navigate quickly between activities.
- Press the
:key to display the cheatsheet. The cheatsheet contains direct links to all of the most used sections for your daily work and displays the keyboard shortcuts you can use. - Click on
gandm; the system Monitor page is displayed.
Step 2: Filter using Labels
Add a label
Labels can be:
- added when creating an entity.
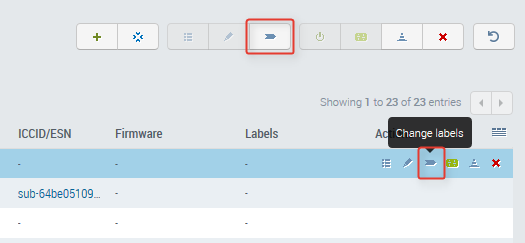
- changed by selecting an entity (system, subscription, gateway, etc.) and clicking on the Change Label icon.
- deleted from the Labels section in the Configure activity.
You can use labels to group entities: multiple labels can be set for one entity and one label can be assigned to multiple entities.
Add a label to multiple systems
- Select several systems.
- Click on Change Labels in the More menu.
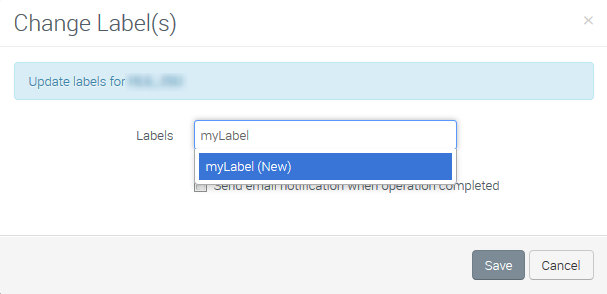
- Enter the Label name for your group of systems.
Add a label for one system
Now that you have associated a label to a subset of your systems, you can do the same with a single system. In the system table:
- Click on the Change Labels icon on the system line in the system table.
- Enter the Label name for your system.
Now let’s use your labels!
Filter the entities in all the activities
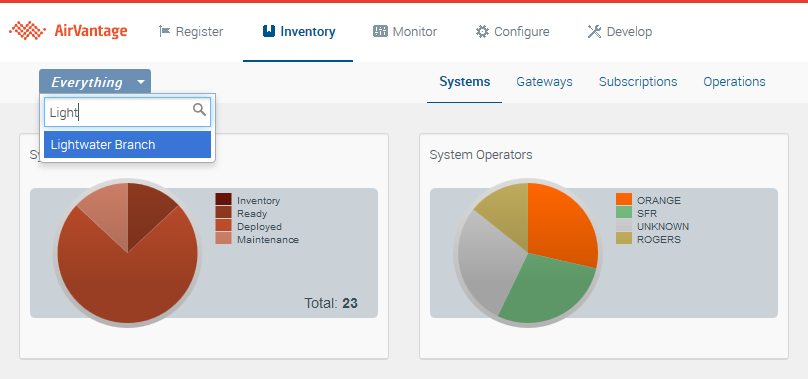
You can add a context label to filter the entities you will see in the user interface. In the example, the context label field indicates that all data is displayed (i.e., no data is filtered). You can add a label to define a filter controlling what you see.
- Once you are in your partner company, click on the Everything button at the top left.
- Type a label name into the field.
All of the entities (systems, gateways, subscriptions, etc.) in all of the activities will be filtered with this label name!
If you want to remove this filter, just click on the cross on the filter button.
Filter the entities table
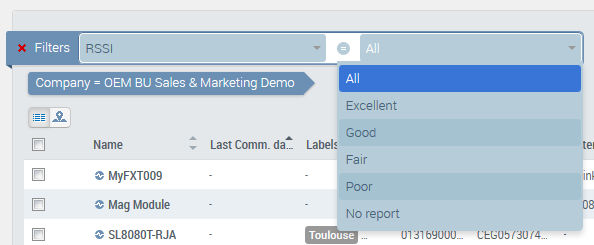
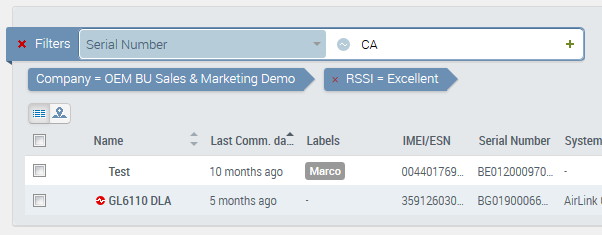
Filters are one most useful features of the AirVantage user interface. You can use filters to find a system or operation among hundreds or even thousands of them with multiple criteria. Some filters are a predefined list of values, others are free-form text.
Click on the red cross next to Filters to reset all filters, or on the grayed one next to a selected filter to remove it.
Note: you can use joker symbol for free text.
Quick links and bookmarks
Now that you know how to create a specific view of your entities, you may want to reuse them later by bookmarking them.
You can bookmark activities without any filtering. For example:
| For US Data Center | For European Data Center |
|---|---|
You can bookmark a specific page using filters. For example, if you want to filter systems by Best RSSI level, enter the following in your bookmark list:
https://na.airvantage.net/monitor/systems/systems?extra=rssiLevel:BEST (example for NA Data Center)
If you want to display systems in Ready State only, enter:
https://eu.airvantage.net/monitor/systems/systems?states=READY (example for EU Data Center).
The following example shows a useful bookmark to jump directly to systems which did not communicate and whose last signal strength received was Poor:
https://na.airvantage.net/monitor/systems/systems?commStatus=ERROR&extra=rssiLevel:POOR.
You can use the interface to build the view. For example, you can click on a pie section in any pie widget to filter the table.
Finally, bookmark the URL of your view.
You can display information from different companies in as many browser tabs as needed. The company and context label are part of the URL.
The [Ctrl + Activity] key combination allows you to open an activity in a new tab of your browser.
Step 3: System finder
If you manage a lot of systems in your company or with several partner companies, you cannot browse all the companies to find your system.
If your system is in your current company
- The dialog box allows you directly to find any system by name.
- Filter the system list by typing a system name.
- Click on it when found; you will be redirected to the system’s view page.
- If system name is not sufficient, you can use the next section.
If your system is in any partner company
- Click on the
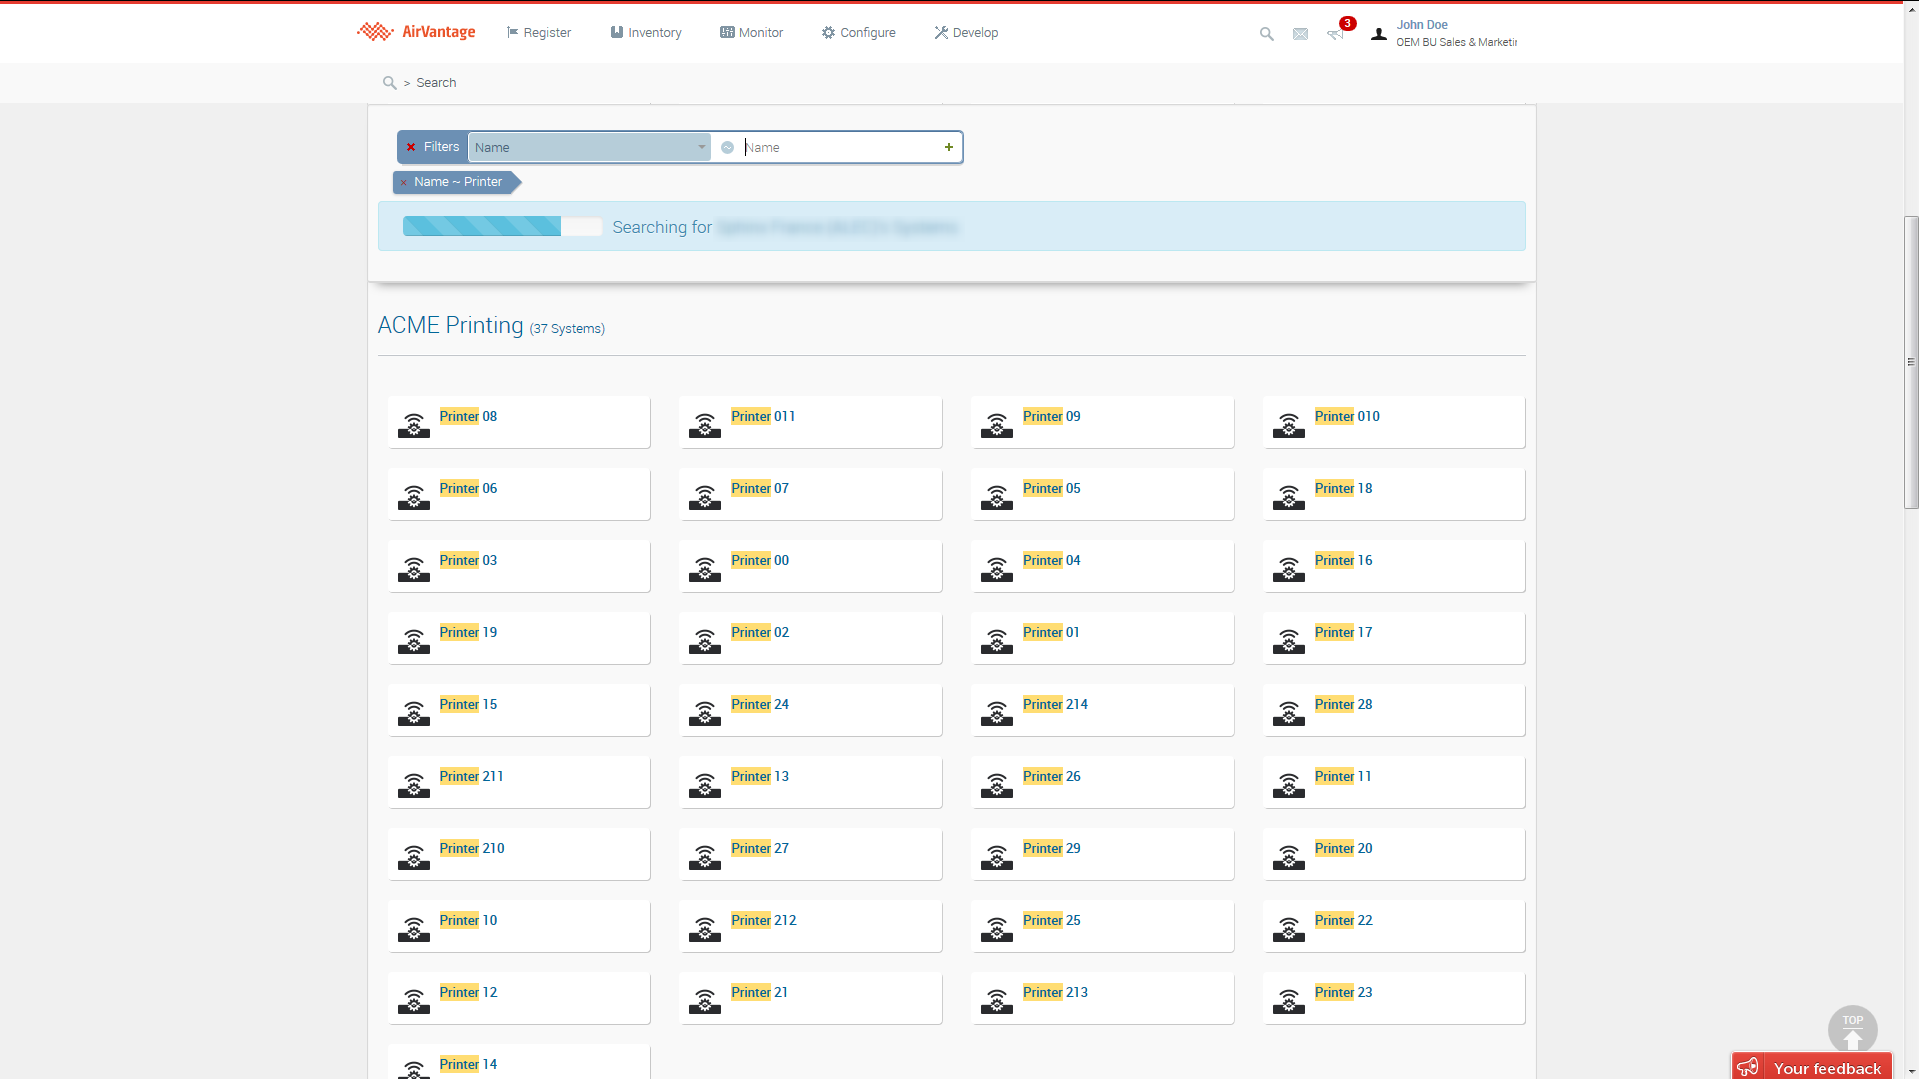
global searchlink in the bottom-right corner of the system finder dialog box. - Use filter to search your system using several criteria. You can look for systems with the following in your company and also all your partners (with sufficient rights):
- IMEI/ESN
- Name
- Serial Number
- Subscription ESN / ICCID
- IMSI/MIN
- MSISDN/MDN
- MAC Address)
- Multiple criteria can be added to refine the search if needed.
That’s it! Now you know how to find your systems and navigate in the interface to browse system information.
 Searching...
