How to configure and monitor the AirLink gateways?
Once a system is registered, you can use AirVantage to monitor and configure it remotely.
Follow this tutorial to learn about basic configuration parameters, and how to apply them via a template.
To watch the video version, click on the screen above.
Or, if you prefer, follow the steps below at your own pace.
This tutorial assumes that you have already seen how to register your device with AirVantage on the Register page. (If not, please do the other tutorial first.)
Step 1: Configuration Basics
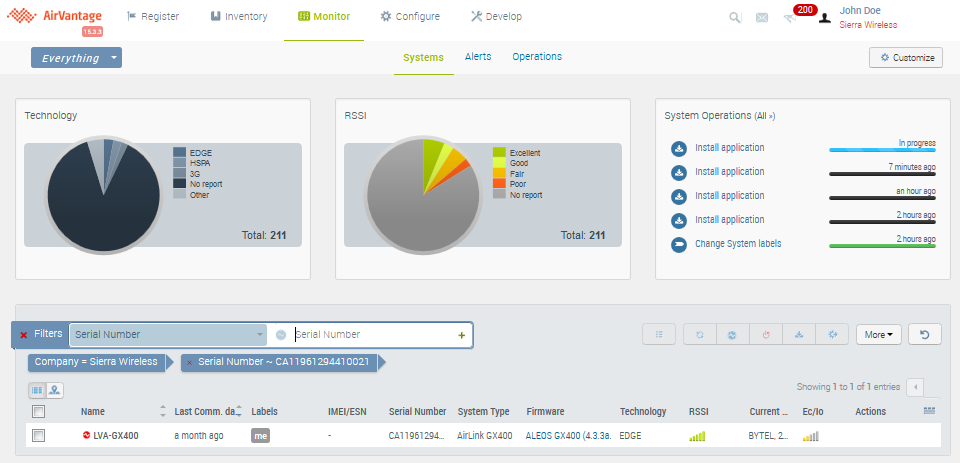
Let’s start by finding the system we created in the device registration tutorial. Click on the Monitor > Systems tab to find the complete list of systems you are monitoring.
View your system
You can use the gateway serial number field as your filter to quickly find your device.
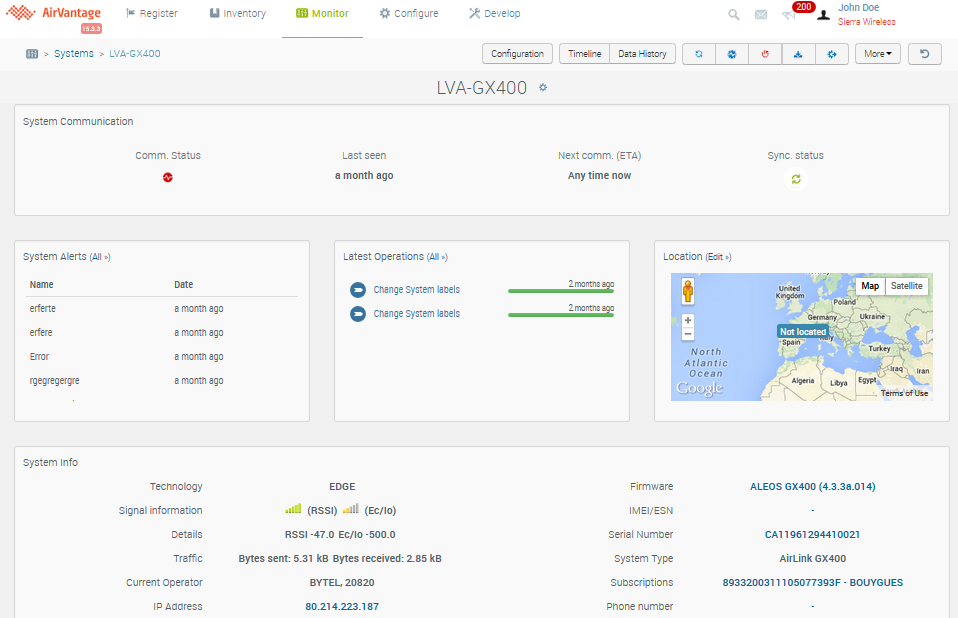
Once your system appears in the list, click on it to display its details. You’ll see the system details page, showing the latest available information about your gateway.
Browse your parameters
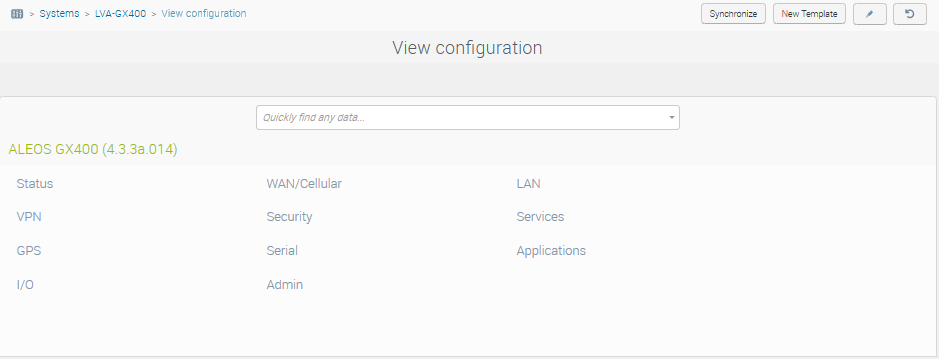
AirLink gateways are powered by the Sierra Wireless ALEOS operating system. You can access the selected gateway’s ALEOS parameters with the Configuration button, allowing you to make changes remotely.
You can browse through all of the ALEOS parameters and their associated values. If you know which parameter you are looking for, you can also get there directly by using the search field. Let’s drill down through the parameter hierarchy to the “Keep Alive” parameters.
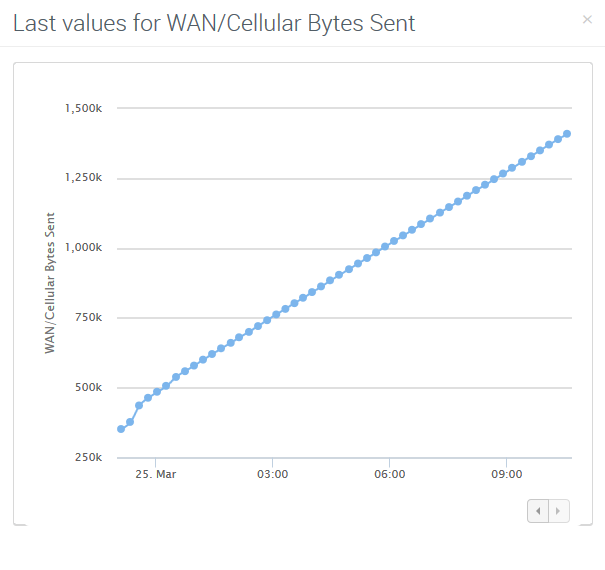
Selecting the “Clock” icon lets you view:
- when the parameter was updated the last time, and,
- the last 100 values:
Update your parameters
You can start making changes by clicking on the Edit button at the top of the parameters screen.
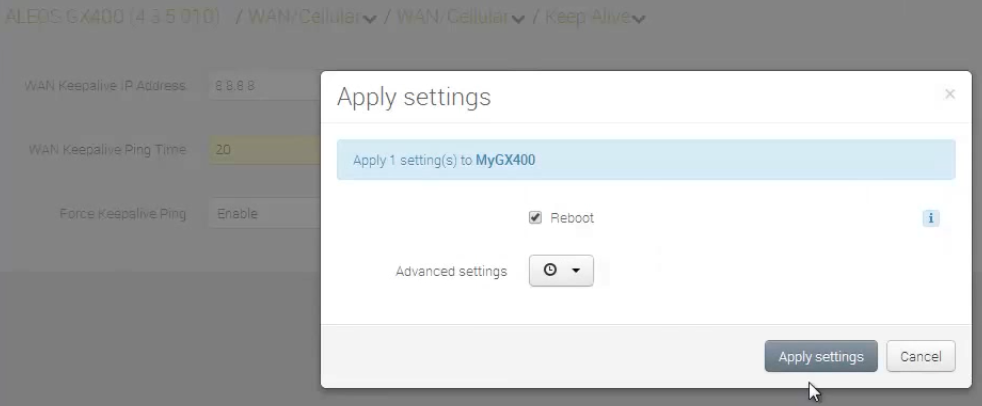
Select parameters individually, enter the new settings required and then apply your changes.
At the next heartbeat check-in from the device, AirVantage will apply these new settings to the Gateway.
Step 2: Configuration Templates
Alternatively, you can use a template to configure your gateways. Templates contain a specific set of parameters and their associated values. It makes it much easier to configure a large number of gateways at the same time.
Create a template
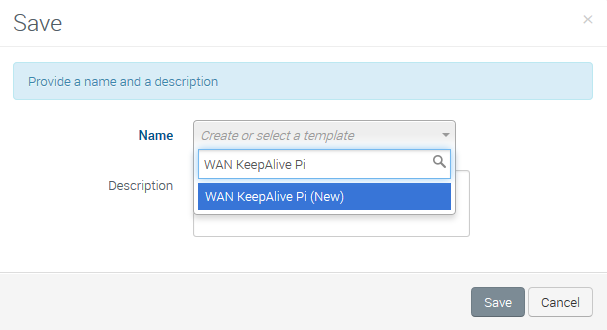
Let’s create a new template for our GX400 gateways. Click on the New Template button.
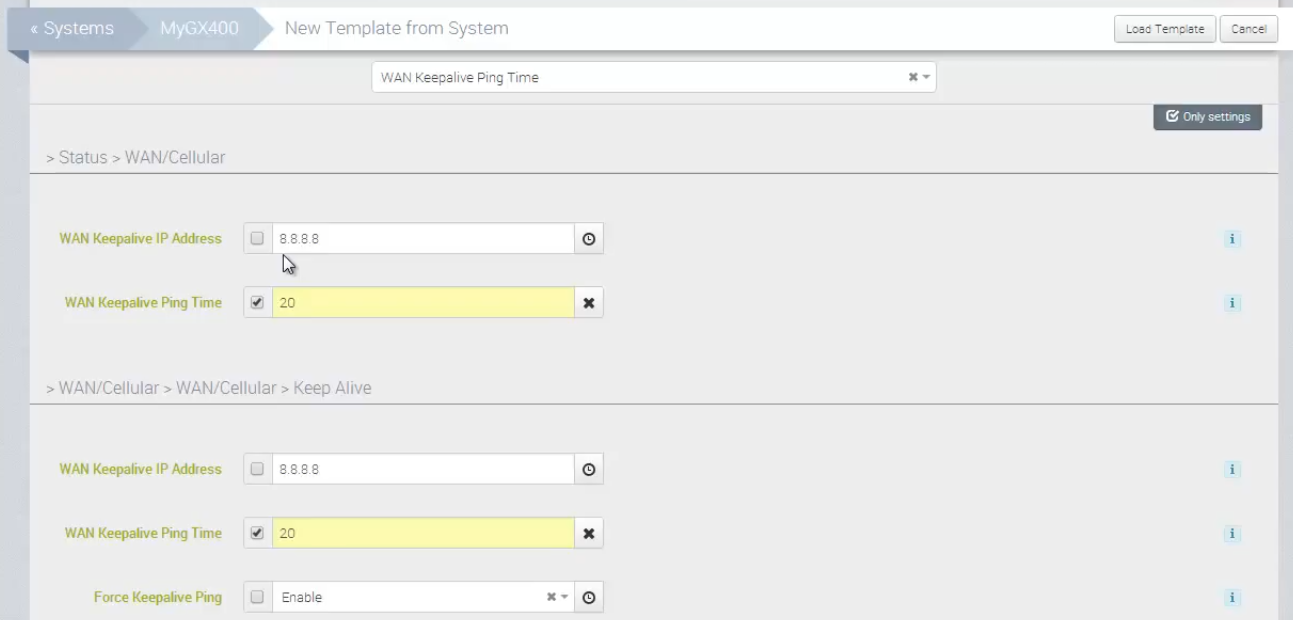
Press on the “plus” button and create a template “from a system”. The system’s firmware version will be selected as the default setting of the template. Then, use the search field to get to the parameters you want to change:
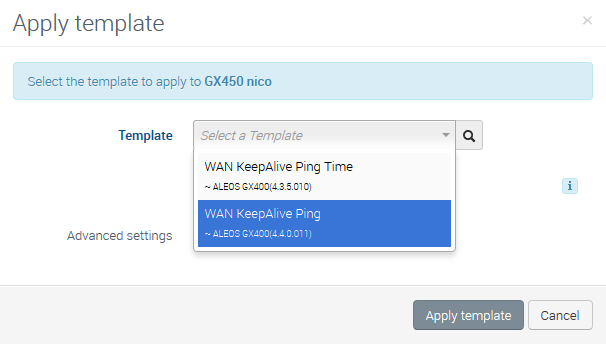
Apply your template
- Now you can select the devices that you want to configure with the new template.
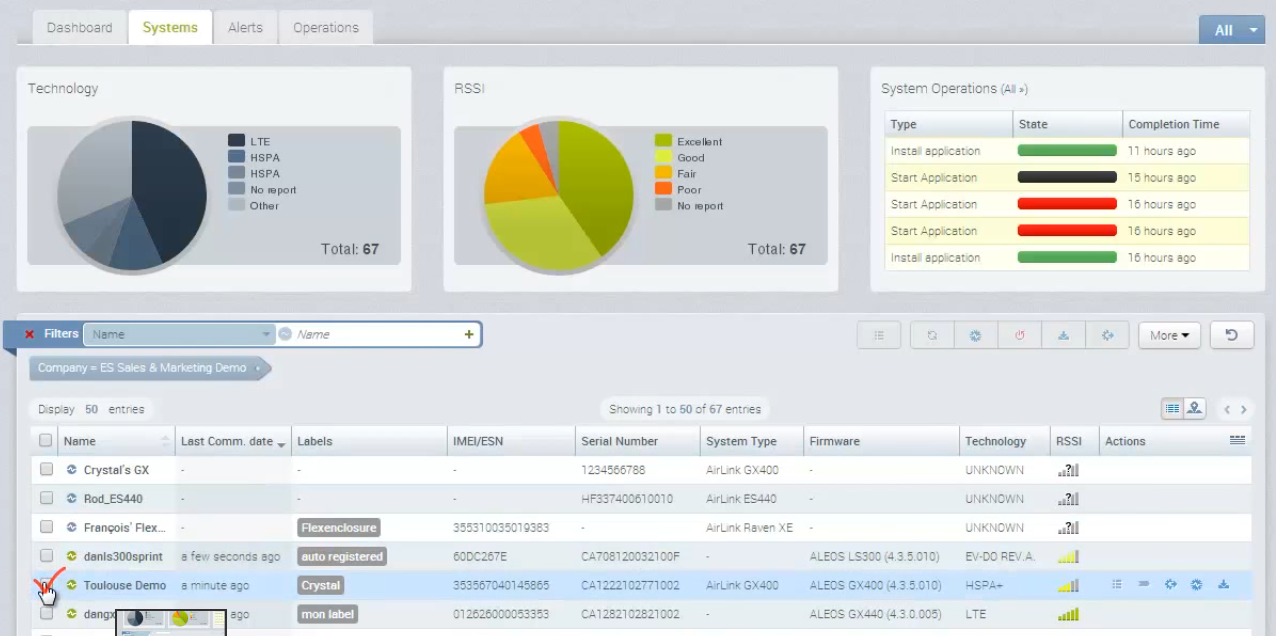
- Go to the Monitor > Systems screen.
- Select the gateway(s) you want to configure.
 Searching...


